


This is just a quick tutorial teaching you how logos work.
1. Start with your background, you can create your own or use ours

2. Make a new layer, and name it gradient square, now grab your marquee tool and set it to a fixed size of 150 x 150 pixels
![]()
3. Click the gradient tool on your toolbar, and click the gradient picture at the top of your screen.
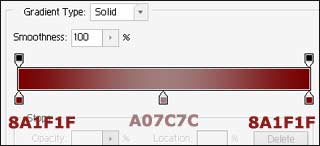
4. make sure the linear gradient box is down, and then drag a line from the top of the selection to the bottom
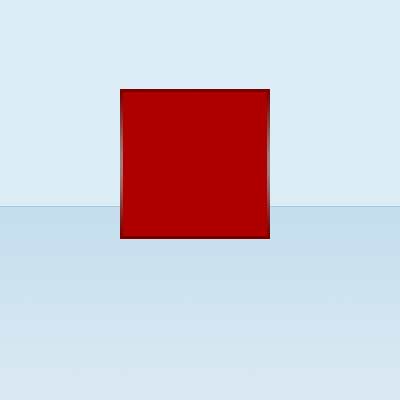
5. Next, click Select> Modify > contract - 3 pixels
6. Set your foreground colour to AE0000. Now, hold ALT and press BACKSPACE (not Delete)
7. Now, select > deselect
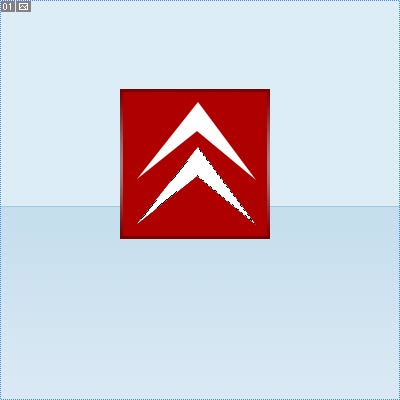
8. Now, make a new layer called Arrows, and grab the polygonal lasso tool and set your foreground to WHITE
9. Try and get your arrow selection as similar to mine. Then hold ALT and press BACKSPACE.
10. Click Layer > Duplicate layer, and name it arrows 2.
11. On the arrows on your keyboard, hold the DOWN button down, until the gap is sufficient.
12. Now click Layer > merge down.
13. next click Layer > Layer style > blending options - click bevel and emboss. put the size to 10, and change the "shadow mode" to 20% opacity
14. Deselect it and your finished!

I added a reflection by simple merging the layers arrows to the square - duplicating it - flipping it vertical - deleting the bottom part - and lower the opacity!