

1) Make a new document, anysize doesn't matter. Now press "D" on your keyboard to reset the foreground and background colors to black and white. Make sure your background is BLACK.
2) Render a few lens flares Filter>Render>Lens Flare... among your canvas:

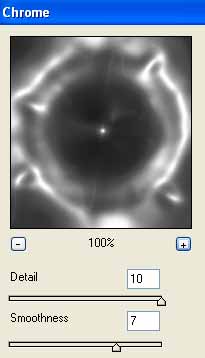
3) Go to Filter>Sketch>Chrome and apply these settings:
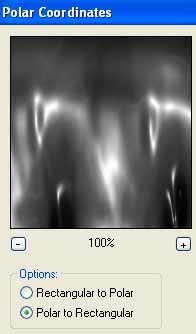
4) Then go to Filter>Distort>Polar Coordinates and use these settings:
5) Then apply Filter>Artistic>Plastis Wrap with the following settings:

6) Now we apply the color. Open up the hue/saturation window by pressing CNTRL+U.
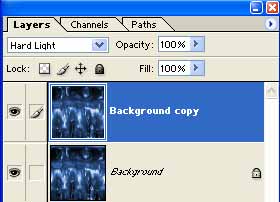
7) Duplicate the layer. Apply Hard Light blending mode to the duplicated layer.
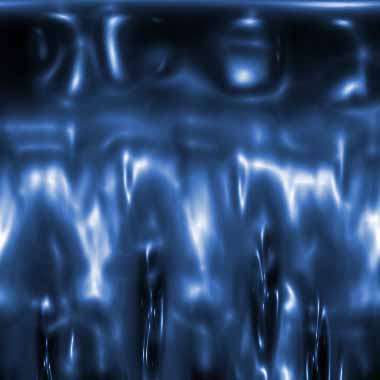
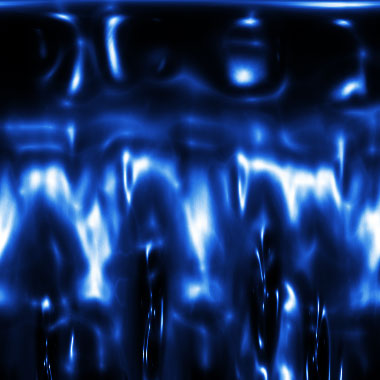
8) Now your image should be looking similar to mine:
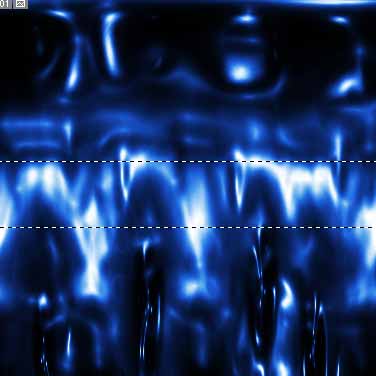
9) Press CNTRL+E to emerge the 2 layers together. Use the Rectangular Marque Tool and select the area you want to use for your signature background:
Now go to File>New and it should already have detected the size of your copied selection. Make the new document and paste it.