1) Make a new document. Go to Filter>Render>Clouds and then Filter>Render>Difference Clouds.
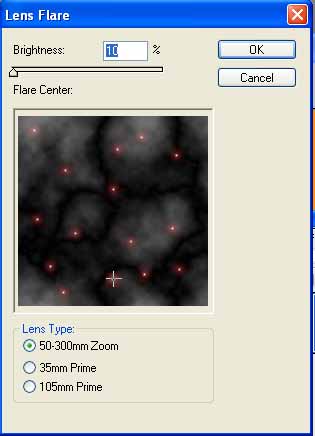
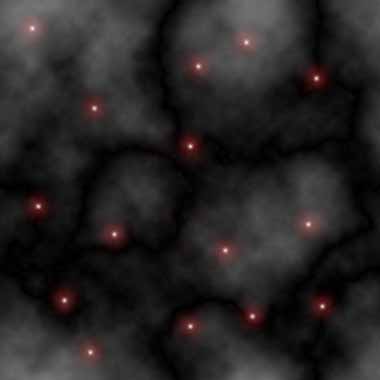
2) We want to apply atleast 15 lens flares. Filter>Render>Lens Flare:
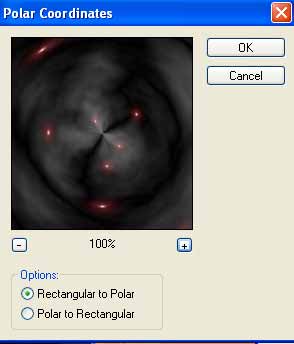
3) Now we walt to apply Filter>Distort>Polar Coordinates and use these settings:
After doin that grab the Elliptical Marque Tool and we now was to hold shift and make a nice selection circle like below:
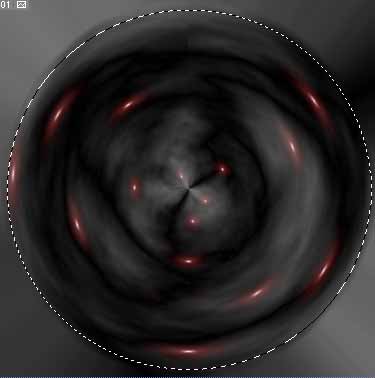
Once you got the circle made press CNTRL+C to copy the circle ball. Make a NEW layer and paste the ball into that layer. Delete the old background layer and add a new background layer and choose the color to use. I used #E8E8E8.
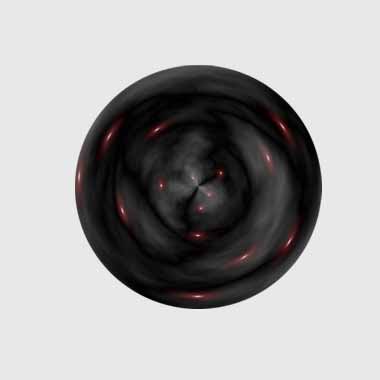
4) Now we can resize the ball if you want, this will make it more clear and crisp. So Edit>Free Transform. Move the circle back into the center again like so:
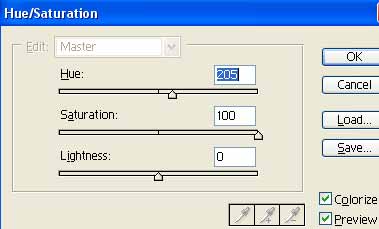
Now we add some colors to our galaxy ball. Press CNTRL+U.
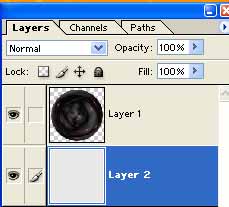
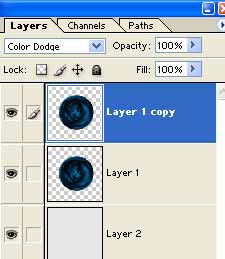
5) Now we want to duplicate the galaxy layer. Set the new duplicated layers blending mode to Color Dodge:
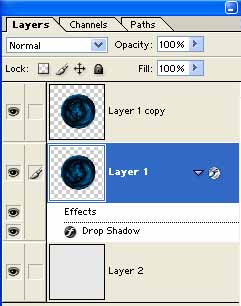
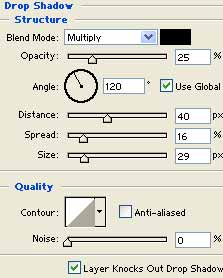
Now we apply a detail shadow effect to the middle layer:
Use these settings:
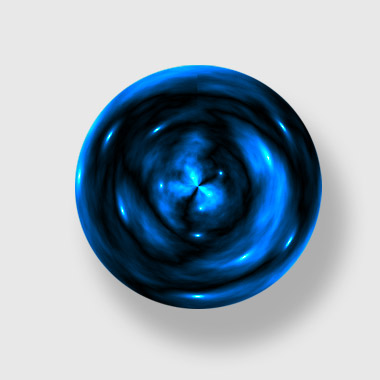
There you go, here is my final Galaxy Ball: