

1) Create a new document around 512 by 512 and then hit " D " to reset the colors.
2) Go to Filter --> Render --> Clouds
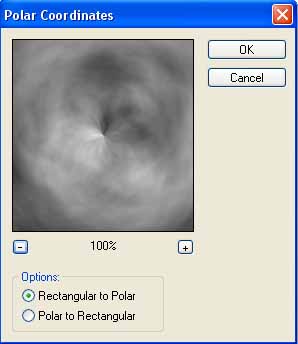
3) Go to Filter --> Distort --> Polar Coordinates . Check " Rectangular to Polar " and hit ok.
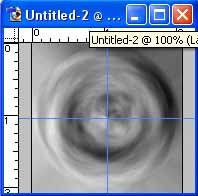
4) Now its about time to make it smaller. Go to Image --> Image Size and make it around 100 x 100 or 150 x 150.
5) Make sure that you can see your rulers for this next step. If you don't have them you can get them by going to View --> Rulers or " Ctrl + R ". Now, once the rulers appear, use the Move Tool
6) Now grab the "Elliptical Marquee" tool
Select the very center and while holding Alt and Shift drag out until you reach the edge of the circle to make a ball. Then go to Select>Inverse and hit Delete.
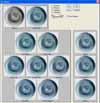
7) Now go to Image --> Adjustments --> Variations. Here its up to you but what I like to do is hit " More Blue " once and hit " More Cyan " twice.
8) Finally go to Filter --> Render --> Lens Flare . Select " 105 mm Prime " and place the crosshair somewhere around the top left corner, or the top right.
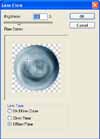
Finally your done, your crystal ball should look similar to mine below, take a look:
