You all know what lightning is so I can skip this introduction. Lightning can add some electrifying =) touches to a banner. You can overlay it on top of your background and it'll look nice. But I know you don't wanna read this so I'll let you get to that tutorials below. Step-by-step instructions proceed...
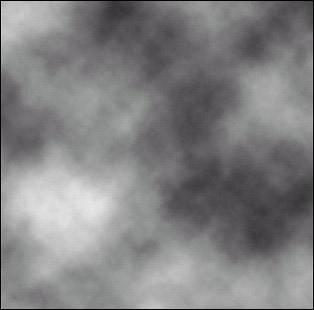
1) Open up a new image, 400x400 and reset your colors (D). Go to Filter>Render>Clouds. You should have something in the range of this:
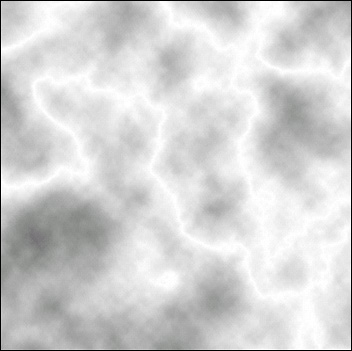
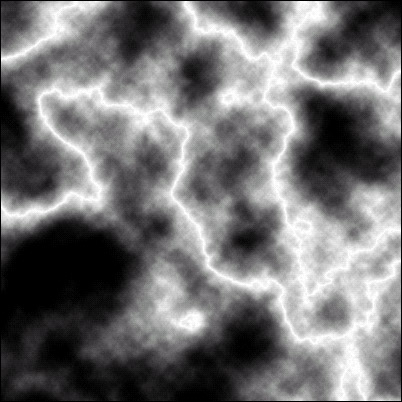
2) Apply a Difference Cloud by going to Fitler>Render>Difference
Clouds. Now go to Image>Adjustments>Invert or hit Ctrl+I. You
should have something like the following...
3) Now go to Image>Adjustments>Levels or hit Ctrl+L and apply the following settings:
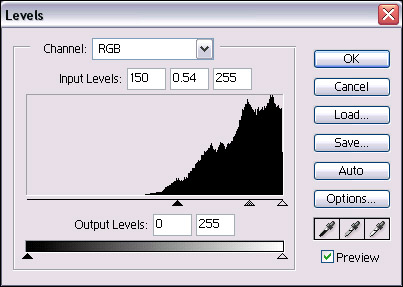
...and you should something like this...
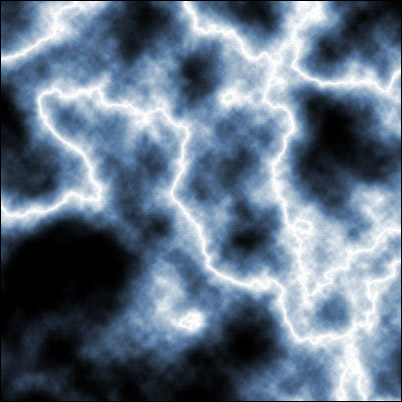
4) Now we can add a little bit of color to this image to make it look a
little more like lightning. Now, go to Image>Adjustments>Hue and
Saturation. Click the colorize button and adjust the 3 boxes to the
following numbers: 212, 30, 0, in order from top to bottom. Click OK
and get your final product: