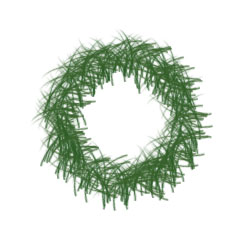
Round, fuzzy, and green.
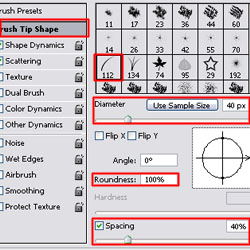
01. Select the brush tool, and open up the brush menu (F5). Go to the "Brush Tip Shape" tab and select the grass brush (#112). Set the Diameter to 40px, Roundness to 100% and Spacing to 40%.
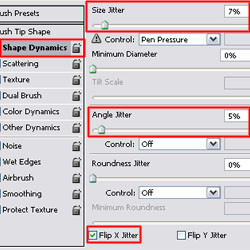
02. Go to the "Shape Dynamics" tab and set Size Jitter to 7%, Angle Jitter to 5%, and check the Flip X Jitter box.
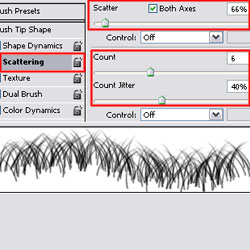
03. Go to the "Scattering" tab and set Scatter to 66% on Both Axes. Set the Count to 6 and Count Jitter to 40%. The values for Count and Count Jitter should vary based on how large your wreath is. The larger the wreath, the higher the value for Count. Count Jitter can be varied at your own discretion.
04. Create a new layer, and use the Shape Tool and create a Path of the wreath. Select the color that you want your wreath to be.

05. Right click on the layer and select "Stroke Path."
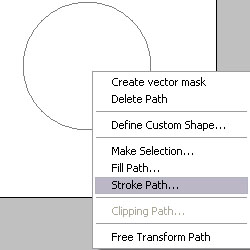
06. You should achieve the following result:
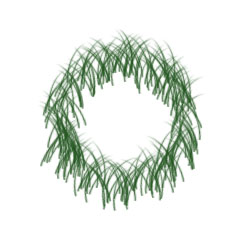
07. Now duplicate the wreath layer, and rotate it 90 degrees clockwise or counterclockwise. This new layer alone:
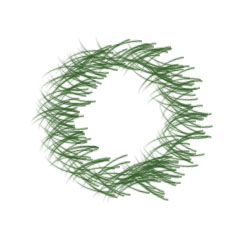
08. Place the two wreath layers on top of each other, and you have your finished wreath.