Here's a cool effect to give designs or surfaces in your wallpapers that extra zing!
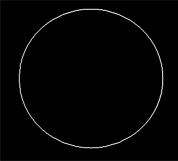
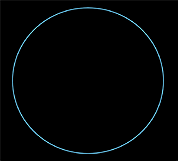
1: Create a new black
(or dark colored) 1024x768 image. Create a new layer. On this second
layer, use the ellipse tool ![]() and hold the shift-key to draw a circle. Make sure that the circle is
using paths
and hold the shift-key to draw a circle. Make sure that the circle is
using paths ![]() so it will not color in the circle.
so it will not color in the circle.
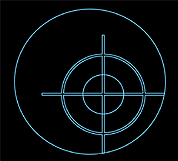
2: You now have a path
outline of a circle. Select the pen tool ![]() ,
right-click on the canvas and from the pop-up menu, select "Stroke
Path." This will outline your path using whatever brush and color
you have selected. I would recommend using the hard round brush at 3
pixels. Right-click and select delete path.
,
right-click on the canvas and from the pop-up menu, select "Stroke
Path." This will outline your path using whatever brush and color
you have selected. I would recommend using the hard round brush at 3
pixels. Right-click and select delete path.
3: Still using the pen
tool ![]() ,
select the Custom shape tool
,
select the Custom shape tool ![]() and choose a
and choose a ![]() shape. I chose the bulls eye. Using whatever shape you selected, place
it somewhere inside the circle. The select "Stroke Path" as we
did before and delete the path.
shape. I chose the bulls eye. Using whatever shape you selected, place
it somewhere inside the circle. The select "Stroke Path" as we
did before and delete the path.
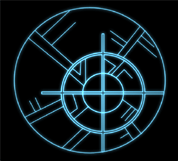
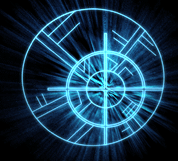
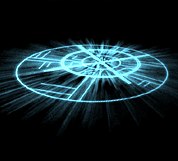
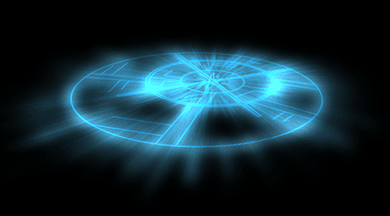
5: Duplicated the merged design layer and select the lower layer and go Filter > Distort > Ripple. Select a large ripple or about 750%. Now Filter > Blur > Radial Blur and make sure you select Zoom and set the amount to 100. Duplicate that layer and set the upper distorted layer to Vivid light. Merge all the layers except the black background.