This tutorial will teach you how to make 3D text with Photoshop.
1. We would start with a simple New File of 280X150 pixels. Press D to set up the background and foreground colors to default. Press Alt+Backspace to make background black. Then with the help of the Horizontal Type Tool [T] write your text (with this tutorials we will use “3D Text”) in white color using such settings: font family - Garamond Narrow, font size – 60pt, font style – Bold. After accomplishing all this you will need to raster your image for further work go to Layer > Rasterize > Type to make it.

2. Make your image similar to the picture below. Choose Edit > Transform > Perspective to make it. All this changes will be done in a new layer which you will need to make a copy of. The simplest way of copying the layer is to drag it to the ‘Create New Layer’ ![]() icon with Layers palette. Make the layer invisible. Switch to the background layer and press Ctrl+Shift+E to merge visible layers.
icon with Layers palette. Make the layer invisible. Switch to the background layer and press Ctrl+Shift+E to merge visible layers.

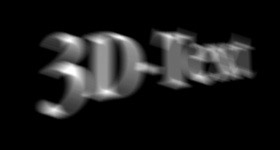
3. With this step you will make your text look like the picture below. Use Motion Blur filter (Filter > Blur > Motion Blur) with Angle -20 and Distance 20 pixels.
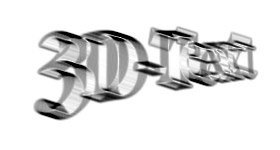
4. The next filter you’ll need is ‘Find Edges’ (Filter > Stylize > Find Edges). The result of using this filter can be seen on the picture below. To invert the picture and make it look like below press Ctrl+I.
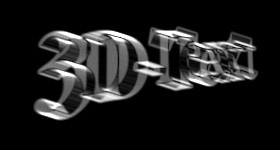
5. Make the layer with the copy of the text visible again and set opacity for this layer 70%. Press V to switch Move tool. Put the text layer in front of the 3D text. Then make a copy of the text layer (see above how to make it). Set 30% for the opacity of the new layer and put it with the backside of the 3D text. That’s it!