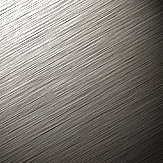
1. Create a new 600x600 pixel document with a resolution of 100 and name it Metal. Depending on what grey you choose, you will get a lighter or darker metal. I choose a light grey. Then fill the document with the grey. You should get something similar to right.

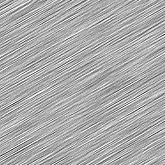
2. Now apply a noise filter with settings [Amount: 40%, Distribution: Uniform, 'Monochromatic' checked]. Next apply a motion blur with settings [Angle: 30° (or whatever you desire), Distance: 26 pixels]. Then sharpen the image (once or more depending on your preference). Adjust the brightness/contrast with settings [Brightness: -15 and Contrast: +15]. Now you most likely will have the ulginess on either side of your image. So adjust the canvas size to [Height: 550 pixels, Weight: 550 pixels] and the anchor box should have the center square selected.
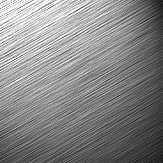
3. You will now have a nice metal texture which you can use in interfaces. But what I am going to do here is add some lighting effects to it to give it a little chrome look to it. Apply lighting effects with THESE SETTINGS.
4. Show channels and create a new channel. Press D and then X on keyboard to reset colors to white and black. Then apply a clouds filter to the channel. Now load the selection from the 'alpha' layer and then show layers. Create a new layer, then show color and set the color to [R: 124, G: 86, B: 23]. Fill the selection on the new layer with the color. Deselect then, then apply a noise filter with settings [Amount: 12%, Distribution: Gaussion, and 'Monochromatic' checked]. Now change the layers blending mode to 'Soft Light', and change layer's opacity to 40%. If you desire different rust effect, play around with the RGB color to fill the clouds selection, and also find a clouds filter that you prefere.