

There are lots of ways to make a photograph look like a painting. Here's another one that simulates painted strokes by blurring dark areas of the image and sharpening lighter areas. It takes just a few steps and works very well with landscapes and other images that include lots of detail.
STEP 1
We'll first want to work with the image's darker pixels, the shadow
areas. To select the shadows, Command-click (Mac) or Control-click
(Windows) on the thumbnail of the RGB channel in the Channels palette,
then invert the selection. You can invert a selection with the keyboard
shortcut Command-Shift-I (Mac) or Control-Shift-I (Windows), or with
the menu command Select> Inverse.
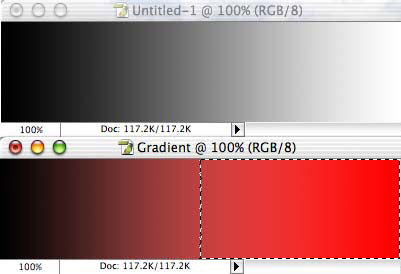
When you Command-click or Control-click on a channel, you make a selection of each pixel in the image according to its brightness in that channel. (We're using the composite channel RGB to select according to the image's overall appearance.) Any pixel that's pure white is 100% selected, any pixel that's pure black is 0% selected, and all other pixels are partially selected according to their luminosity. Compare the two images below. The original image, top, contains a simple black-to-white gradient. Below, we Command-clicked the RGB channel to select according to luminosity, then filled with red. As you can see, the pixels that had been white and very light gray are red, while the darkest pixels are not noticeably changed. Observe that the selection marquee indicates pixels that are at least 50% selected, but that pixels darker than 50% gray are also partially selected.
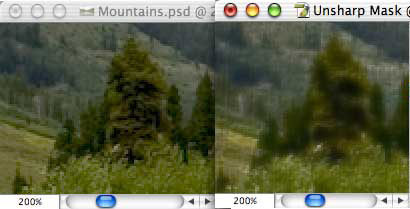
STEP 2
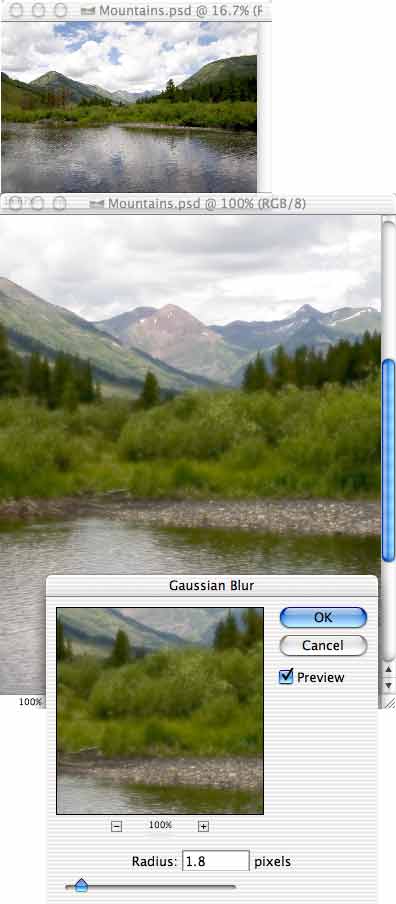
After making and inverting your selection, use the keyboard shortcut
Command-H (Mac) or Control-H (Windows) to hide the selection border,
the so-called "matching ants." Now apply a Gaussian Blur. The full
image is shown above, with a portion of the image visible below at 100%
zoom. (As always, it's best to evaluate an adjustment or filter at 100%
zoom.) To open a second window of your working image, use the menu
command Window> Arrange> New Window for [filename]. Depending on
the amount of fine detail in your image, a Gaussian Blur or between 1
and 2 pixels is usually sufficient.
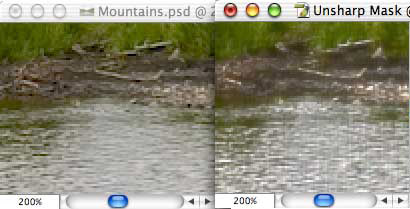
STEP 3
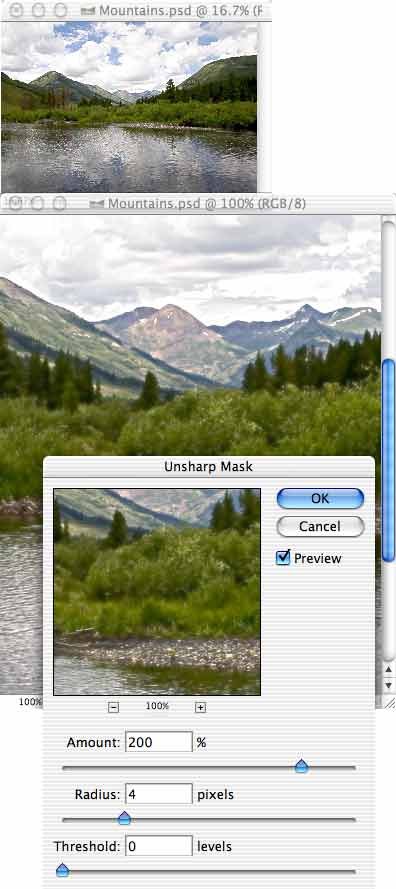
Invert your selection again or Command/Control-click on the RGB channel
thumbnail once more. This re-selects the lighter pixels in the image.
Again, use the shortcut Command/Control-H to hide the selection
boundary. Use the Sharpen> Unsharp Mask filter. The settings Amount:
200%, Radius: between 3 and 5 pixels, and Threshold: 0 are usually
sufficient, depending on the content of the image.
STEP 4
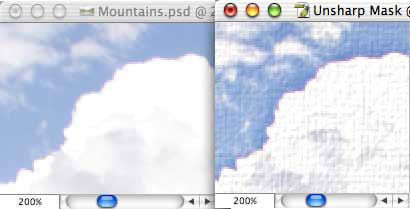
Apply the Texture> Texturizer filter to finish the effect. Adjust
the sliders to suit your image. (In this example, the Canvas texture
was applied with the settings Scaling: 70%, Relief: 3, Light: Top
Left.) Compare the "before" and "after" close-ups in the following
images.
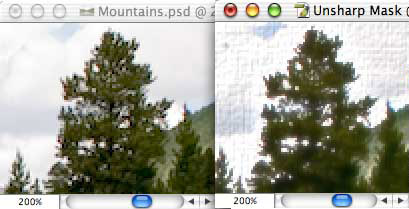
Keep in mind that this technique is best used with images containing lots of detail. It is less effective with photos that contain large areas of reasonably even color, such as portraits.
 Pete
Bauer is the Help Desk Director for NAPP, as well
as a Contributing Writer for Photoshop User and Mac Design
magazines. His books include "Special Edition Using
Adobe Photoshop 7" (with Jeff Foster), "Special
Edition Using Adobe Illustrator 10," "Sams Teach
Yourself Adobe Illustrator 10 in 24 Hours" (with Mordy
Golding), and "Special Edition Using Adobe Illustrator
9." Pete writes documentation for a variety of computer
graphics related products, as well as testing software
for a number of companies. As a computer graphics efficiency
consultant, Pete specializes in customized training programs.
He is based in Columbus, Ohio, and can be contacted via
Pete
Bauer is the Help Desk Director for NAPP, as well
as a Contributing Writer for Photoshop User and Mac Design
magazines. His books include "Special Edition Using
Adobe Photoshop 7" (with Jeff Foster), "Special
Edition Using Adobe Illustrator 10," "Sams Teach
Yourself Adobe Illustrator 10 in 24 Hours" (with Mordy
Golding), and "Special Edition Using Adobe Illustrator
9." Pete writes documentation for a variety of computer
graphics related products, as well as testing software
for a number of companies. As a computer graphics efficiency
consultant, Pete specializes in customized training programs.
He is based in Columbus, Ohio, and can be contacted via