


A high contrast overlay with a vintage tint.
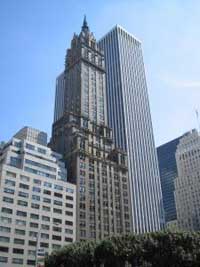 |
1. Open the image for editing. |
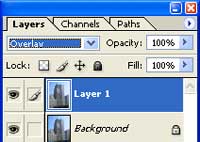 |
2. Duplicate the current layer (Ctrl+J) and change the blending mode to Overlay. |
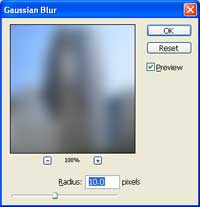 |
3. Add a Gaussian Blur filter (Filter> Blur> Gaussian Blur). |
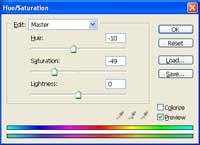 |
4. Use the Hue/Saturation tool (Ctrl+U) to apply the following properties:
Hue: -10
|
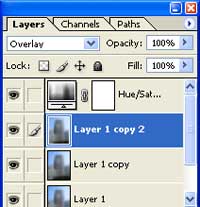 |
5. Duplicate the middle layer several times to increase the contrast. |
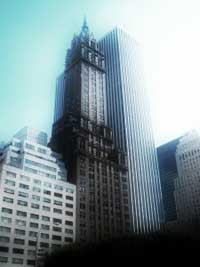 |
6. Rollover the image in this step to see the original image before this technique was applied. |