Create the popular photo montage you've seen in posters and puzzles. You will only see a bunch of tiling images when you view the images up close, however, if you view the image from a distance, you will see one large image created by all the small thumbnails.
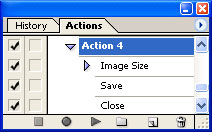 |
1. Create a new document of any size and save the document as a JPG file. You will delete this file later. Once you've saved the file, create a new action. |
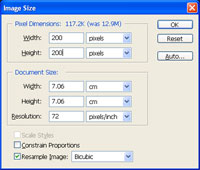 |
2. With the action recording, use the "Image Size" tool to apply the following properties:
Constrain Proportions: Uncheckmarked
Click OK. Save (Ctrl+S) and close (Ctrl+W) the current document. Stop recording the action and delete the saved document. |
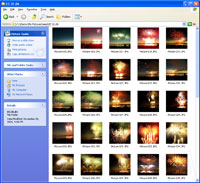 |
3. Create a new folder on your drive and copy all the images you want in to include in your photo montage to that folder. Copy at least 100 images. Make sure that you are copying the images and not moving the images. For this step, I've copied 225 photos. |
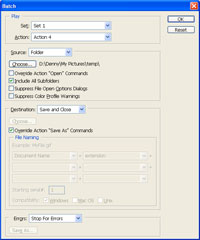 |
4. Switch back to Photoshop and use the "Batch" tool (File> Automation> Batch) and select the action you've just created. Choose the folder you've created, set the "Destination" to "Save and Close" and checkmark "Override Action 'Save As' Commands". If your folder has subfolders with the images in it, checkmark "Include All Subfolders". |
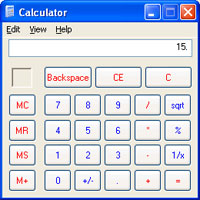 |
5. While photoshop is processing the images, you will need to find the square root of all the images that will appear in your photo montage. To do this, use a calculator and input the number of photos you have for your photo montage. For this step, I will input 225 as the amount of photos I have. Next, you need to find the square root of the number you've input. After I've pressed the square root button, I've recieved an answer of 15. This means that for my photo montage, I will have 15 photos for every row and column. The square root button should either be spelt SQRT or look similar to a checkmark with a horizontal bar on its tip. |
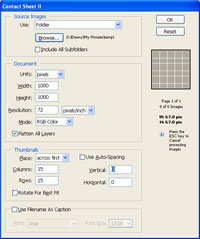 |
6. Use the "Contact Sheet II" tool (File> Automation> Contact Sheet II) to apply the following properties:
Use: Folder
Units: pixels
Place: across first
Click OK. |
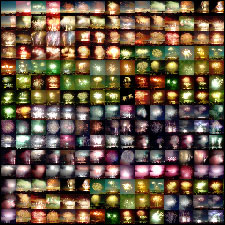 |
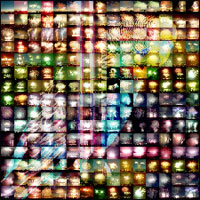
7. It may take awhile for Photoshop to create the contact sheet. After you've created a contact sheet, your image should look similar to the image in this step. |
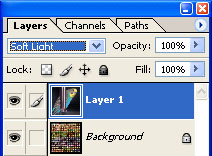 |
8. Drag the image you want to appear as the large/distant image onto the current document. An image with high contrast and a simple background will work best. Use the "Transform" tool (Ctrl+T) to resize the image so that it fits in the document then change the current layers blending mode to "Soft Light". |
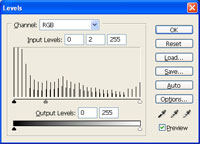 |
9. Create a new "Levels" adjustment layer (Layer> New Adjustment Layer> Levels) as the middle layer and apply the following properties:
Channel: RGB
Click OK. |
 |
10. Select the top layer with the large/distant image and use the "Brightness/Contrast" tool (Image> Adjustment> Brightness/Contrast) to adjust the brightness and contrast so that the image is more visible. Make sure that the "Preview" checkbox is checkmarked. |