

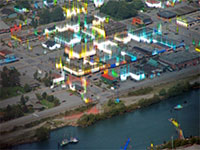
This aurora glow tutorial will automatically find highlights of an image and create an aurora on it.
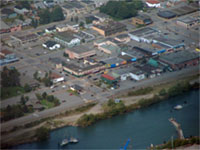 |
1. Open the image for editing. |
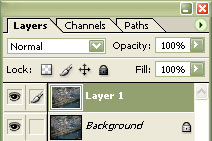 |
2. Duplicate the current layer (Ctrl+J). |
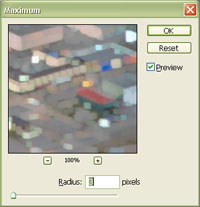 |
3. On the new layer, apply a "Maximum" filter (Filter> Other> Maximum). Select a "Radius" that will slightly pixelate the image. Click OK. |
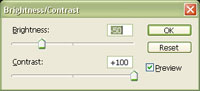 |
4. Use the "Brightness/Contrast" tool (Image> Brightness/Contrast) to apply the following properties:
Brightness: -50
Click OK. |
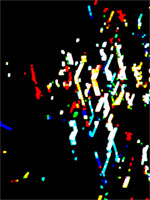 |
5. Rotate the image 90º clockwise (Image> Rotate Canvas> 90º CW). |
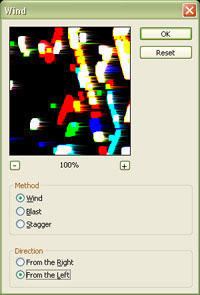 |
6. Apply a "Wind" filter (Filter> Stylize> Wind) with the following properties:
Method: Wind
Click OK. |
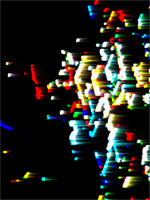 |
7. Apply the previous filter again (Ctrl+F). |
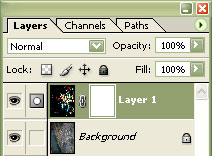 |
8. Add a layer mask (Layer> New Layer Mask> Reveal All) to the current layer. |
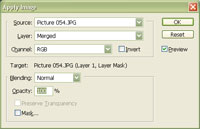 |
9. With the layer mask selected, use the "Apply Image" tool to apply the following properties:
Source: filename
Click OK. |
 |
10. Rotate the canvas 90º counter-clockwise (Image> Rotate Canvas> 90º CCW). |
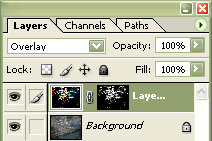 |
11. Select the top layer to deselect its thumbnail. Set the current layer's blending mode to "Overlay". |
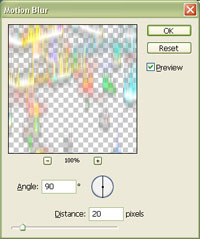 |
12. Apply a "Motion Blur" filter (Filter> Blur> Motion Blur) with the "Angle" at "90º" and a "distance" that will slightly blur the solid white areas. Click OK.. |
|
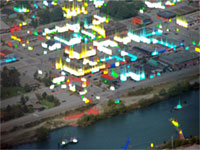
13. Rollover the image on the left of this step to see the original image before this technique was applied. |