
Simulate the effects of a high contrast lomo camera.
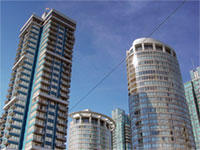 |
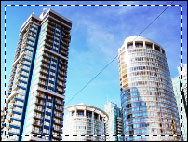
1. Open the image for editing. |
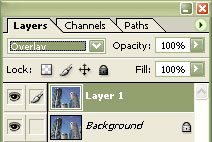 |
2. Duplicate the current layer and set the blending mode to "Overlay". |
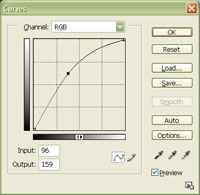 |
3. Add a new "Curves" adjustment layer (Layer> New Adjustment Layer> Curves). Set the "Input" to about "95" and the "Output" to about "150". Click OK. |
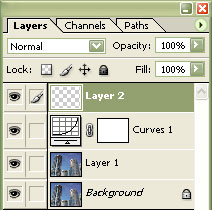 |
4. Create a new layer (Ctrl+Shift+N) as the top layer. |
 |
5. Select the canvas (Ctrl+A) then border the selection (Select> Modify> Border). The border size you select will be the size of the vignette. Click OK. |
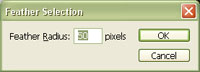 |
6. Feather the current selection (Ctrl+Alt+D) with the same value you've used to border your previous selection. |
 |
7. Fill in the current selection with the colour black and duplicate the current layer (Ctrl+J). |
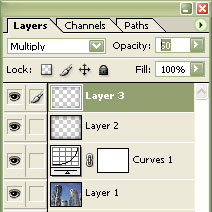 |
8. On the top layer, set the blending mode to "Multiply" and reduce the opacity. Select the layer below and set the blending mode to "Overlay". |
 |
9. Add a "Channel Mixer" adjustment layer (Layer> New Adjustment Layer> Channel Mixer) as the top layer. Select the "Blue" output channel and set the "Blue" to "90%". Click OK. |

|
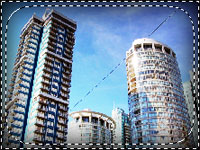
10. Rollover the image in this step to see the original image before this technique was applied. |