


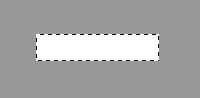
| Step 1 Make a new document 500x500 pixels. Make the background layer a dark grey so we can see what we are doing. Once you've done that make a new layer and call it button. Select your rectangle marquee tool and make a selection roughly the same as mine and make the background color white. |
 |
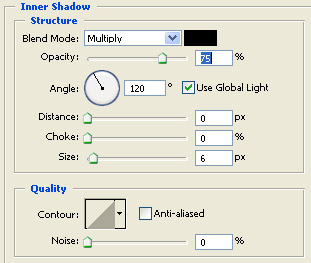
| Step 2 While still selected with the layer button, go to Layer > Layer Style and then Blending options. Once you've done, select Inner Shadow and enter in the setting as shown below: |
 |
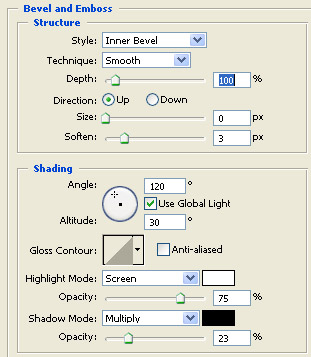
| Now select the Bevel and Emboss and enter in the setting as shown below: |
 |
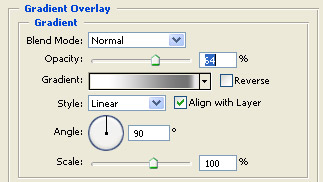
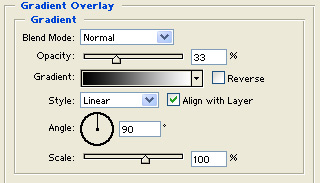
| Now select the Gradient Overlay and enter in the setting below. Double click the gradient bar and it should open up a new window. You should then enter the setting shown on the second image below: |
 |
| Select Gradient option and do as followed. |
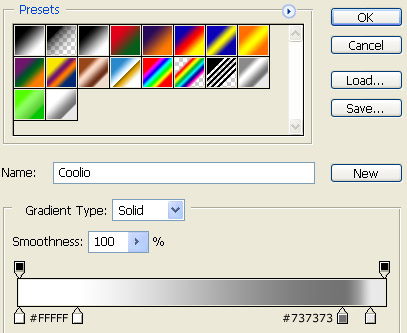
|
| Once you've done that you then go to Stroke and enter in the setting as shown below: |
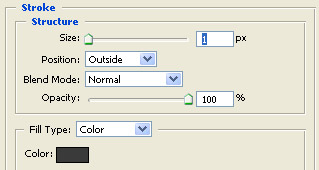 |
| Step 3 You should now have something that looks very similar to the image shown below. Now you can see it looks more of a nice smooth bright button. |
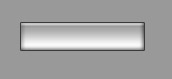 |
| Final Result Well, this is my final result and I hope you all enjoyed this tutorial. I added text to it to make it look more of a button. |
 |