


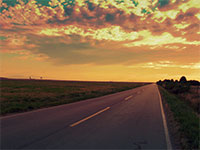
Using the new features of Adobe Photoshop CS, make any photograph look like it was taken during a sunset.
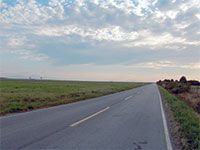 |
1. Open the image for editing. |
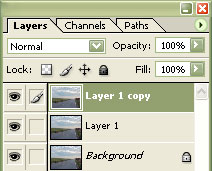 |
2. Duplicate the layer (Ctrl+J) three times. |
 |
3. Select the middle layer and apply a "Photo Filter" (Image> Adjustment> Photo Filter). Use a "Warming Filter (85)" with a "Density" of "100%". Click OK. |
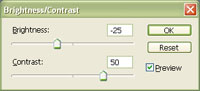 |
4. On the current layer, use the "Brightness/Contrast" tool (Image> Adjustment> Brightness/Contrast) to apply the following settings:
Brightness: -25
Click OK. |
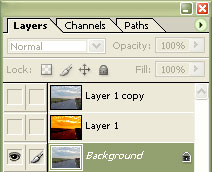 |
5. Hide the top two layers by clicking on the eye of eeach of the two layers. |
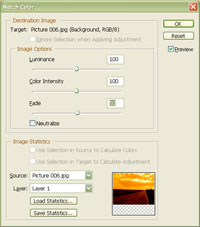 |
6. Select the bottom layer and use the "Match Color" tool (Image> Adjustment> Match Color) to apply the following properties:
Luminance: 100
Click OK. |
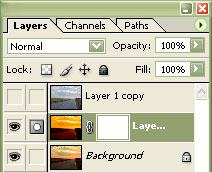 |
7. Select the middle layer and add a layer mask (Layer> Add Layer Mask> Reveal All). |
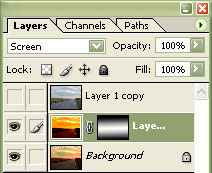 |
8. With the layer mask selected, fill in the selection with a gradient. Select a "Reflected Gradient", click on the horizon, and while holding the "Shift" button, drag the gradient line to the bottom of the image. Set the current layer's blending mode to "Screen". |
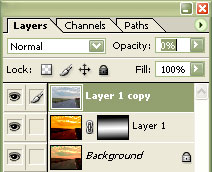 |
9. Click on the eye of the top layer to make it visible. Decrease the "Opacity" to decrease the effect. |
|
10. Use the "Brightness/Contrast" tool (Image> Adjustment> Brightness/Contrast) once more to tune the image. Rollover the image in this step to see the original image before this technique was applied. |