

Make your photographs look like they were taken in Winter. In this tutorial, you will learn how to use several filters to add snow to your photographs.
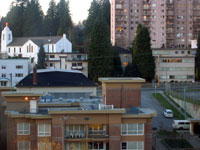 |
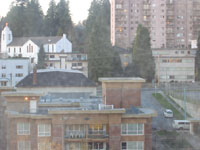
1. Open the image for editing. For htis tutorial, select an image with an overcast sky (white sky). |
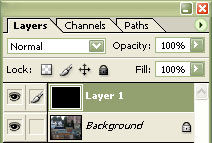 |
2. Create a new layer and fill the layer with the colour black. |
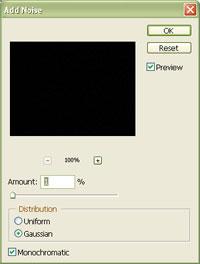 |
3. Use the "Add Noise" filter (Filters> Noise> Add Noise) to apply the following properties:
Amount: 1%
Click OK. |
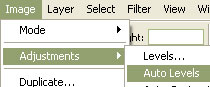 |
4. Apply an "Auto Levels" (Shift+Ctrl+L). |
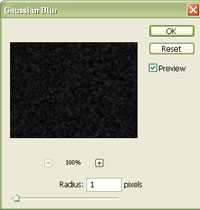 |
5. Apply a Gaussian Blur (Filters> Blur> Gaussian Blur) with a radius of 1 pixel. |
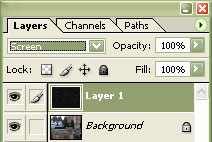 |
6. Apply a transform (Ctrl+T) of 200% width and 200% height. Change the current layer's blending mode to "Screen". |
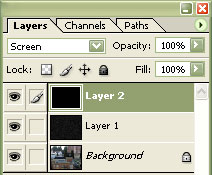 |
7. Repeat steps 2 to 6 so that you have another layer. Do not skip this step and duplicate the layers because the noise applied in step 3 should not look like the noise in Layer 1. |
|
8. Create a new layer and render clouds (Filter> Render> Clouds). Change the new layer's blending mode to "Screen" and the "Opacity" to "50%". Apply a "Gaussian Blur" (Filter> Blur, Gaussian Blur) with a radius large enough to hide the detail of the clouds. Rollover the image in this step to see the original image before this technique was applied. |