


Creating soft black & white photographs reduces reflections and makes the image more dramatic. In this tutorial, you will learn how to use the Shadow/Highlight tool to create a black and white image with a morning/dreamy look.
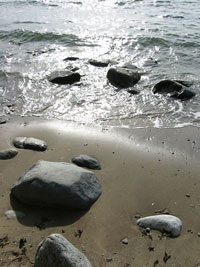 |
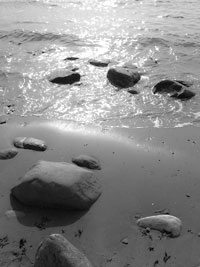
1. Open the image for editing. For this tutorial, select a photograph with high contrast. |
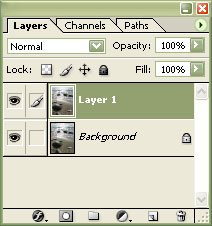 |
2. Duplicate the "Background" layer (Ctrl+J). |
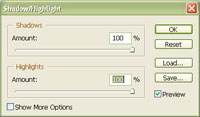 |
3. Use the Shadow/Highlight tool (Image> Adjustments> Shadow/Highlight) to incrase the "Shadows" and "Highlights" values to 100%. Click OK. |
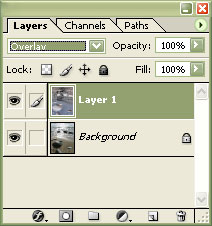 |
4. Set the top layer blending mode to "Overlay" and invert the colours (Ctrl+I). |
 |
5. Create a new "Hue/Saturation" adjustment layer (Layer> New Adjustment Layer> Hue/Saturation) and set the "Saturation" to "-100". Click OK. |
|
6. The photograph is now black & white with a soft effect to it. Rollover the image on the left of this step to see the difference between a normal black and white photograph and a soft black and white photograph. |
Creating an inverted layer after increasing the shadows and highlights reduces the highlights and reflections of an image. This effect also works well with portraits.