


Strands of black or colored hair so realistic, you might not even know it's fake.
 |
1. Create a new document and fill the background with black. |
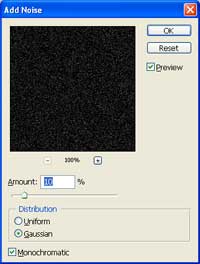 |
2. Use the Add Noise filter (Filter> Noise> Add Noise) to apply these settings:
Amount: 10%
|
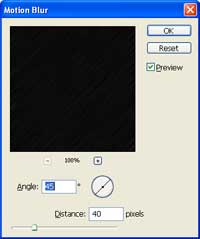 |
3. Add a Motion Blur filter (Filter> Blur> Motion Blur) with these settings:
Angle: 45º
|
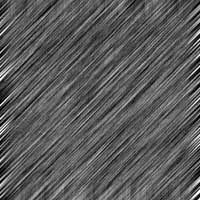 |
4. Increase the contrast by applying an Auto Levels (Ctrl+Shift+L). |
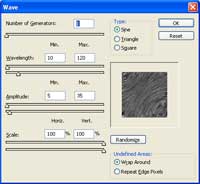 |
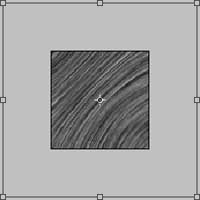
5. Distort the image using the Wave filter (Filter> Distort> Wave) with these settings:
Number of Generators: 1
|
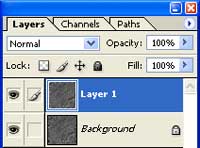 |
6. Duplicate the layer (Ctrl+J). |
 |
7. Increase the width and height to 200% using the Transform tool (Ctrl+T). |
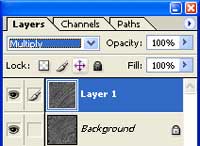 |
8. Change the blending mode of the top layer to Multiply. |
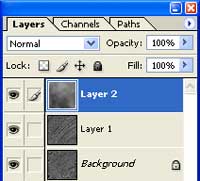 |
9. Create a new layer as the top layer and add a Clouds filter (Filter> Render> Clouds). |
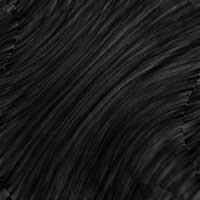 |
10. Change the blending mode of the top layer to Overlay. |
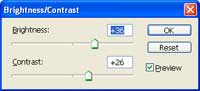 |
11. Create a new Brightness/Contrast adjustment layer (Layer> New Adjustment Layer> Brightness/Contrast) and tweak the settings so that the hair is more visible. |
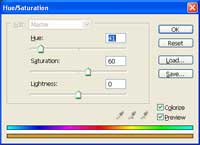 |
12. If you want to change the color of the hair, add a Hue/Saturation adjustment layer (Layer> New Adjustment Layer> Hue/Saturation). Checkmark colorize and adjust the hue and saturation. These are the settings I used:
Hue: 41
|
 |
13. Crop the image to remove the artifacts caused by the Wave filter. |
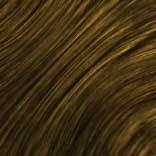 |
14. Here is the result that I got. |