


Simulate the custom white balance feature found in digital cameras.
 |
1. Open the image for editing. |
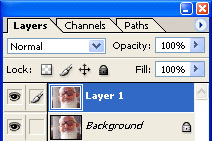 |
2. Duplicate the current layer (Ctrl+J). |
 |
3. Use the "Marquee" tool (M) to make a selection of the area with the shifted colour. |
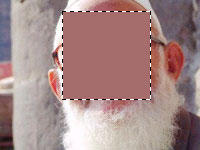 |
4. Apply an "Average" filter (Filter> Blur> Average). |
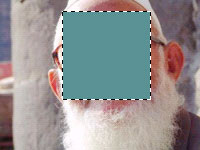 |
5. Invert the current selection (Ctrl+I). |
 |
6. Use the "Magic Wand" tool (W) to select the colour inside the selection. Deselect (Ctrl+D) and fill the layer with the colour you've selected (Ctrl+Backspace). |
|
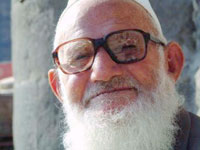
7. Set the current layer's blending mode to "Soft Light". Rollover the image in this step to see the original image before this technique was applied. |