
Correct the vertical and horizontal perspectives of your photographs.
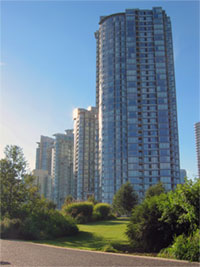 |
1. Open the image for editing. |
 |
2. Drag guidelines to edges that needs to be corrected. To create guidelines, enable "Rulers" (Ctrl+R), click on the ruler and with the mouse still down, move the mouse towards the image to create a line. To create a verticle line, click and drag from the verticle side of the ruler; to create a horizontal line, click and drag from the horizontal side of the ruler. |
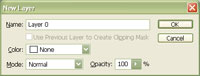 |
3. If the current layer is a locked "Background", double click on the layer and click OK. |
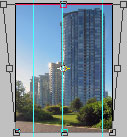 |
4. Use the "Perspective" transform tool (Edit> Transform> Perspective) to correct the perspective. Then use the "Skew" (Edit> Transform> Skew) transform tool to tune the transform. |
| 5. Take note of the horizontal and verticle skew value in step 4. | |
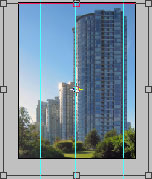 |
6. Use the "Scale" transform tool (Edit> Transform> Scale) to increase the height and/or width. Increase the height by twice the amount of the horizontal skew value and the width by twice the amount of the verticle skew value you've used in step 4. For this step, I've increase the height to 111.6% since the horizontal skew value I've used is 5.8º. |
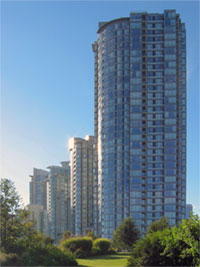 |
7. Rollover the image on the left of this step to see the original image before this technique was applied. |