

Sometimes images with a really bright spot makes the rest of the image underexposed. The most common way of fixing this is to use duplicate one or more layers with a screen blending mode. Here's a better way of increasing the exposure that won't overexpose the image like the traditional screen layers.
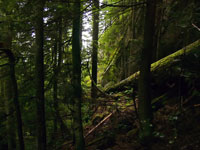 |
1. Open the image for editing. For this tutorial, select an underexposed image with a correctly or overexposed area. |
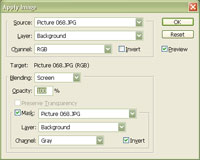 |
2. Using the "Apply Image" tool (Image> Apply Image), apply the following properties:
Blending: Screen
Click OK. |
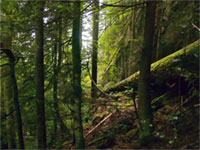 |
3. The image is now brighter, but it still isn't bright enough so I will use the "Apply Image" tool again to repeat step 2. |
 Screen Mask 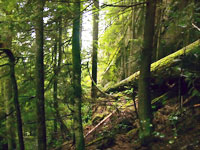 Screen Layers 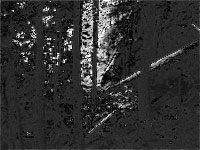 Overexposed areas in Screen Layers |
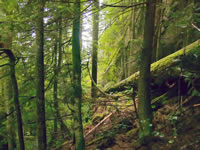
4. The image is now correctly exposed. Compare this technique with the screen layers technique. The white areas in the third black and white image represents the overexposed areas caused by using layers with a screen blending mode. |