


The human eye usually doesn't see as much contrast as a camera's lens does. Digital flash lightens darker areas and darkens lighter areas reducing the contrast and shadows of photographs just like what a fill flash does. A similar effect is used with some of Hewlett Packard's new digital cameras which they call "HP Adaptive Lighting Technology". This tutorial will teach you how to reduce the contrast and shadows of an image similiar to HP's Adaptive Lighting Technology to create a better image.
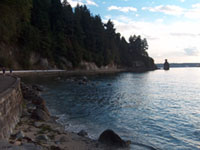 |
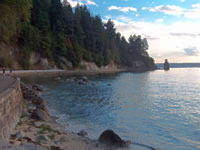
1. Open the image for editing. For this tutorial, pick a photograph with more contrast. |
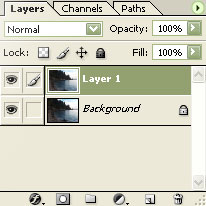 |
2. Duplicate the layer (CTRL+J). |
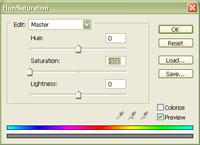 |
3. Use the Hue/Saturation tool to adjust the master saturation (CTRL+U). Set the saturation to -100. Click OK. |
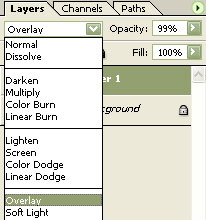 |
4. Change the blending mode of "Layer 1" to "Overlay" and adjust the opacity to adjust the strength of this effect. |
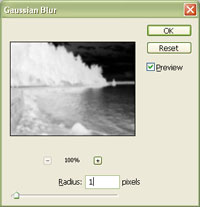 |
5. Apply a Gaussian Blur (Filter> Blur> Gaussian Blur). Checkmark the "Preview" option and adjust the radius. A larger radius creates a sharper image. Click OK. |
|
6. Unlike adjusting the exposure to correct the image, this effect will dodge underexposed areas and burn over exposed areas. Rollover the image on the left of this step to see the original image before this technique was applied. |
Light pigmented skins may appear too red and saturated. To correct the colour of the skin, use the Hue/Saturation tool to increase the hue of the red channel. If parts of the image are overly saturated, increase the saturation in step 3 to a value not greater than 0.