

A web shaped into a flower.
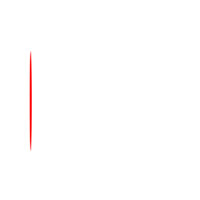 |
1. Create a new 1000x1000 pixels document with a white background. Use the "Eliptical Marquee" tool (M) to apply the following properties:
Style: Fixed Size
Create a new layer then create a selection of the applied properties and fill it with the colour red. Position the object so that it is near the left of the image. |
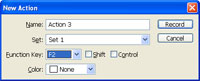 |
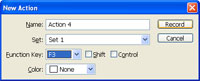
2. In the "Actions" pallet (Window> Actions), create a new action and specify a "Function Key". |
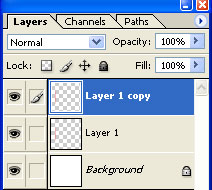 |
3. With the action recording, Duplicate the current layer (Ctrl+J). |
| 4. Use the "Transform" tool (Ctrl+T) to apply the following properties:
Angle: 10º Press Return. |
|
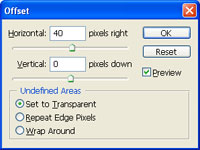 |
5. Use the "Offset" filter (Filter> Other> Offset) and apply the following properties:
Horizontal: 40
Click OK. Stop recording the action. |
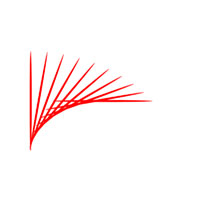 |
6. Press the function key you've defined in step 2 several times until your image looks similar to the image in this step. Wait for the action to be completed before you press the function key again, . |
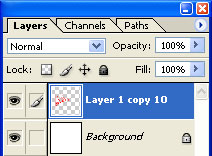 |
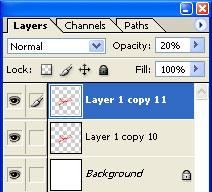
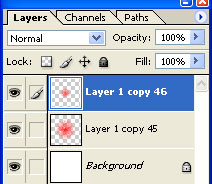
7. Link all the layers except for "Background" and merge linked (Ctrl+E) |
 |
8. Position the layer to the center. |
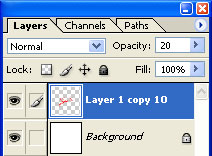 |
9. Set the layer's opacity to "20%". |
 |
10. In the "Actions" pallet (Window> Actions), create a new action and specify a "Function Key". |
 |
11. With the action recording, Duplicate the current layer (Ctrl+J). |
| 12. Use the "Transform" tool (Ctrl+T) to apply the following properties:
Angle: 10º Press Return. Stop recording the action. |
|
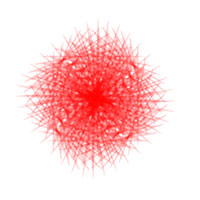 |
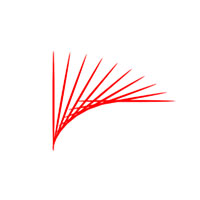
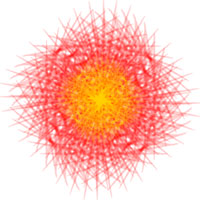
13. Press the function key you've defined in step 10 several times until your image looks similar to the image in this step. Wait for the action to be completed before you press the function key again, . |
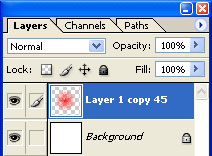 |
14. Link all the layers except for "Background" and merge linked (Ctrl+E) |
 |
15. Duplicate the current layer (Ctrl+J) and use the "Transform" tool (Ctrl+T) to apply the following properties:
Width: 50%
Click OK. |
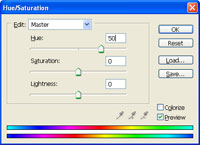 |
16. With the new layer selected , use the "Hue/Saturation" tool (Ctrl+U) to apply the following properties:
Hue: 50
Click OK. |
 |
17. Use the "Crop" tool (C) to crop the image. |
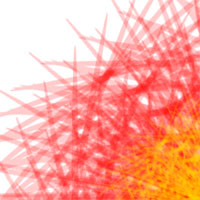 |
18. Here is a cropped area of a high resolution version. |