1. Make a new document, anysize doesn't matter. Press CNTRL+D to reset your pallete colors. Start off with any color of background, I used white.
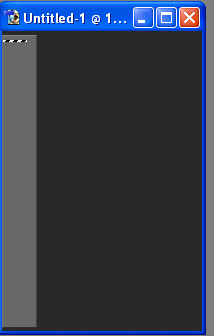
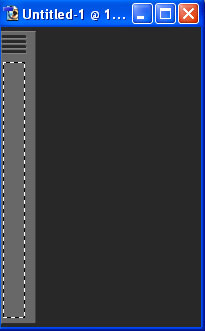
2. Starting with the Rectangular Marque Tool we want to make a selection and fill it in like below:

Make sure to make new layers everytime you make a new selection and paint it!
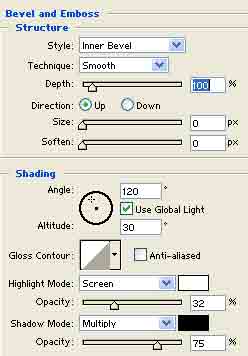
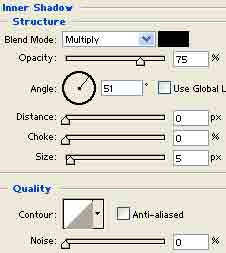
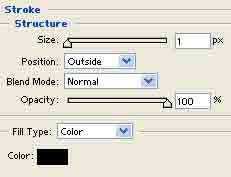
3. Apply these blending options to the layer:
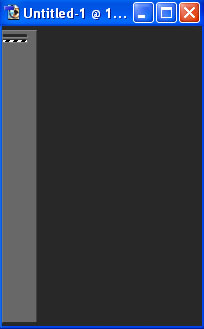
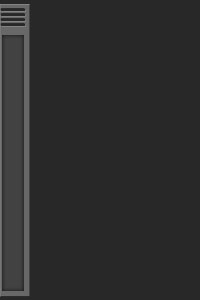
4. Make small selections like this and press delete:
5. Make another new layer and a selection like below:
Fill it in with a dark grey. Apply these blending options to the layer:
Notice I trimmed up the sides to make everything align evenly.
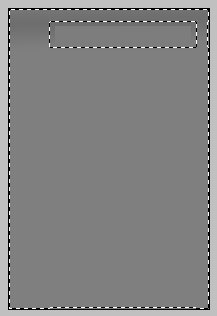
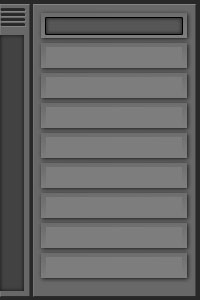
6. I missed a few screenshots during this step but I will make it clear. You want to make another new layer and make a selection about the size of the button below:

Fill it in with a light grey. Add a drop shadow blending option to this layer aswell.
7. Make a selection like below and go to Select>Invert:

Use your Gradient Tool and set a dark to light grey gradient.
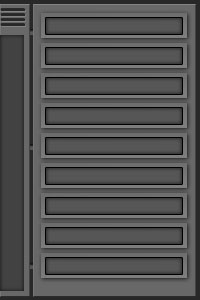
8. Make a selection like below:
Make a new layer and fill it in with the same dark grey you used on the left. Also apply these blending options:
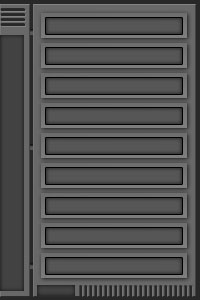
9. Keep duplicating the button layers untill the whole nav is full:
10. Make a new layer just above your background layer and make a selection like below:
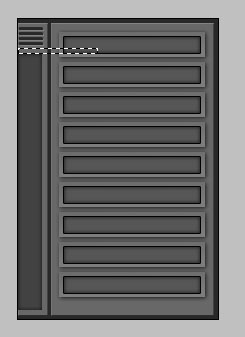
Fill it in with a nice mid dark grey and add a inner shadow to it.
11. Add your finishing touches, I touched up the bottom a bit: