1. open a new document, size doesn't really matter, but making the transparent background might be nice.
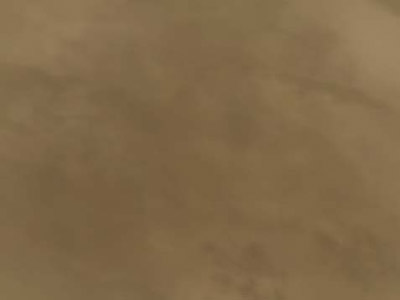
2. Add a background color of your choice, brown is what I chose.

3. Add some grunge, light and dark to your color to add some texture.
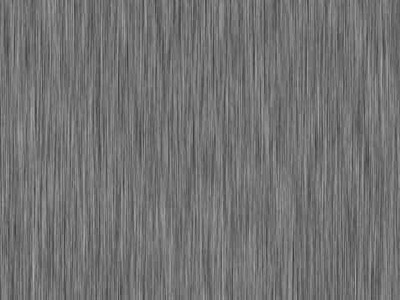
4. Now create a new layer and fill it with black. Add some noise by applying the filter - add noise - noise. Get something similar to this. "Monochrome only", will get rid of the colors.

5. Do a motion blur and blur it vertically. Something like below will do fine.
6. Change this layer to "Hard Mix." Should look something like this.
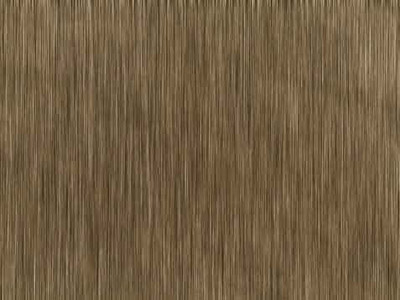
7. Erase some of the lines, to add another aspect of texture to your piece.
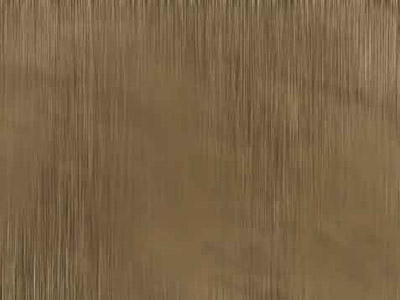
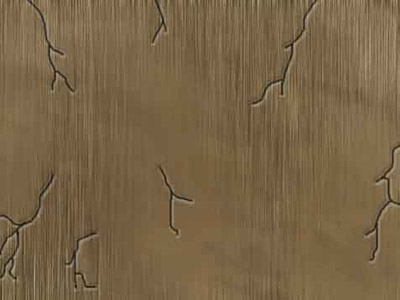
8. Now in a new layer and with a small brush, add your cracks wherever you want them, make it look nice.
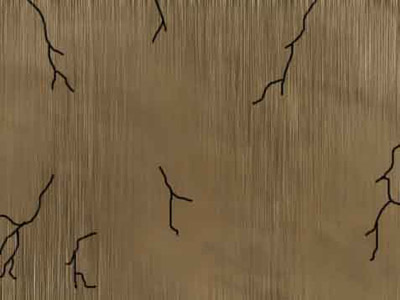
9. Edit the layer style of the 'crack layer' and add some bevel and some shadow, just so it looks a little more real, play around with them until you get something like I have below.
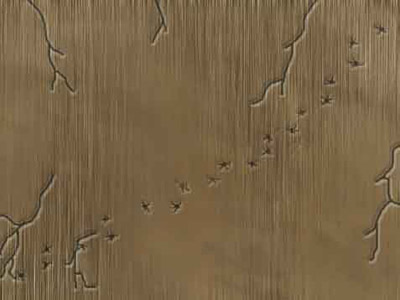
10. Take a brush on a new layer, and add multiple dots that look like they could have been shot from a machine gun or something then go back with a smaller brush and add cracks to the plain circle, again, to improve realism. Bullet holes wouldn't just be a circle. Copy the layer styles from your crack layer and paste them to the bullet layer.
11. Add some text of your choice and use carefully, tutorials are extremely habit forming ;) Have a good day all, enjoy the tutorial from Pure.