1. Start with a new document Ctrl+N, 400x400 pixels and a white background.
2. Press D to reset your colour palette.
3. Go to Filter -> Render -> Difference Clouds until you get something nice. After the first time, just press Ctrl + F to reapply it.
4.Then go to Filter -> Blur -> Radial Blur with Amount: 35; Blur Method: Zoom; Quality: Good.
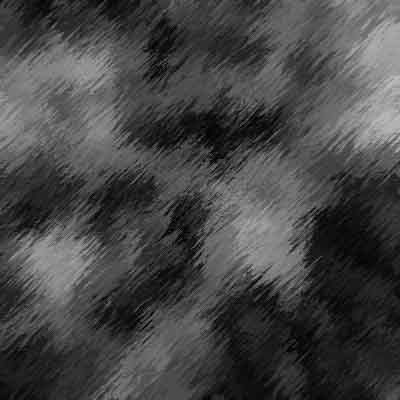
5. Now apply Filter -> Brush Strokes -> Sprayed Strokes. I set Stroke Length to 10; Spray Radius to 20; and Direction to Right Diagonal. Feel free to change some settings in this step though. This is what I got:
6. Use Filter -> Distort -> Twirl with an angle of 200.
7. Create a new Layer.
8. Add some more clouds, Filter -> Render -> Clouds.
9. Use Filter -> Distort -> Ocean Ripple with a Size of 9 and a Magnitude of 9.
10. Add a Lens Flare to the middle of your image by using Filter -> Render -> Lens Flare. Set brightness to around 120% and use 105nm Prime Lens.
11. Press Ctrl+L to bring up the Levels dialogue and select Auto to darken your image a little.
12. For the top layer with the Lens Flare and the clouds, set the Blending Mode to Colour Dodge.
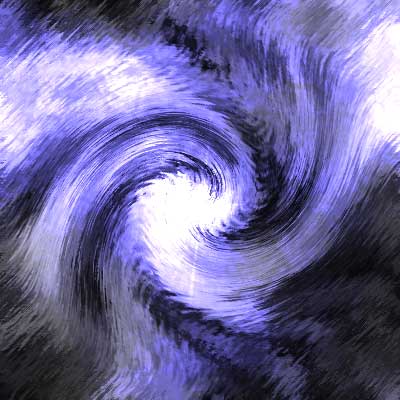
13. Finally, give your image some colour. Press Ctrl + U, and make sure the Colourize box is checked. I used Hue: 247; Saturation: 36; and Lightness -6. Good luck, here is my result: