We are going to make an effect that is good for signatures and banners, so let´s start whit creating a new document (Ctrl-N), I used size: 450x450
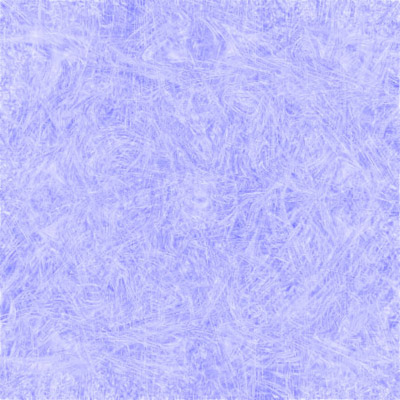
2. Press 'D'on your keyboard to reset the colours, then Filter -> Render -> Clouds
3. Filter -> Render -> Difference Clouds, then press Ctrl-F about 3 times
4. Filter -> Stylize -> Find Edges. Use settings of 2, 30, and 2

5. Filter -> Liquify. Mix it around with all the different brushes. Just make sure you have some distint patches of chrome-coloured liquid
6. Duplicate Layer
7. Filter -> Distort -> Twirl. Use an angle of around 145 degrees
8. Filter -> Distort -> Polar Coordinates. Use Polar to Rectangular
9. Duplicate Layer
10. On the newest layer, Edit -> Transform -> Flip Vertically
11. Change blending mode to lighten, merge down
12. Duplicate the layer, Edit -> Transform -> Rotate 90 CW
13. Change blending mode to Lighten, merge down
14. Repeat Steps 12-13 4 more times
15. Duplicate this final layer, set the newest layer blend to Multiply, and merge down
16. Almost done! Colourize the layer anyway you'd like using Ctrl-U and changing the Hue/Sat/Lightness bars. I chose a dark blue, and I recommend a dark colour because of the next step.
17. Image -> Adjustments -> Colour Balance, play around until u are satisfied.
18. That's it, I recomend the effect to make banners och signatures