1. Begin with a new file, I chose 500x500, but any size will work. Then fill the canvas with #8C6239.
2. Go to Filter>Texture>Grain and set the Contrast to 50 and for the type set it to Contrasty.
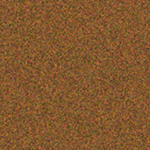
3. Once again go to Filter>Texture>Grain use the same Contrast 50 and set the type to Horizontal.
4. Then go to Filter>Blur>Motion Blur and set the Angle to 0 and the Amount to 25.
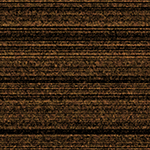
5. Go to Image>Adjustments>Brightness/Contrast and set the Brightness to +55 and the Contrast to -30.
6. Then go to Image>Adjustments>Hue/Saturation and set the Saturation to +45.
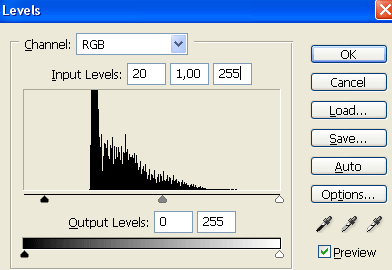
7. Then press Ctrl+L and apply this settings.
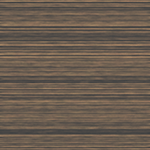
Now should it look something like this.
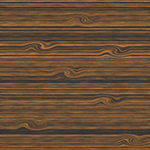
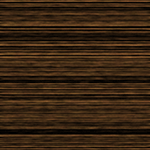
8. Take the Elliptical Marquee Tool and draw out a oval wherever you want, then go to Filter>Distort>Twirl and set the Amount to 140, then just repeat this step to your are satisfied and thats it you are done!
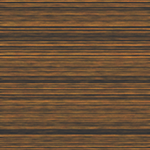
This is what i came up with.