1. For this sig background start with a 300 x 300 image, and you can make a selection later for the part of this that you would like to use.
2. Press D to reset your colour palette.
3. Filter > Render > Clouds.
4. Filter > Sketch > Graphic Pen, and set the settings to maximum. For Stroke Direction just choose Right Diagonal, but it doesn't really matter.
5. Next, Filter > Blur > Radial Blur and set Blur Method to Zoom, Quality to Good and Amount to 100.
6. Press Ctrl + F to repeat the filter.
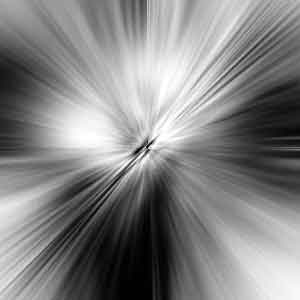
7. Filter > Distort > Twirl, and set it to around 150.
8. Now create a new layer on top of your existing one so you can see what you are doing.
9. Select the gradient tool, set the Mode to Difference and draw a whole bunch of lines. I think mine is about 15 lines.
10. Throw a few lens flares (Filter > Render > Lens Flare) in the darker regions.
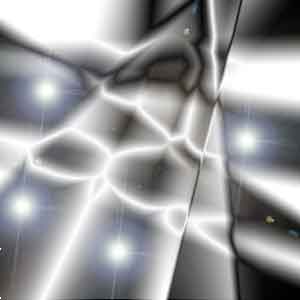
11. Filter > Brush Strokes > Accented Edges
12. Press Ctrl + F to repeat the filter.
13. Rearrange the layers so that the swirl layer is on top of the crazy gradient layer.
14. Set the blending of the top (swirly) layer to 80% and change it's Blending Mode to Difference.
15. Merge the layers together.
16. Give your masterpiece some colour by pressing Ctrl + U and checking Colourize.

17. Now just select the best part of your image to use as your signature background. Here is mine.