1. Start with a new canvas, 450x350 is what I am using, and a background colour of #999999.
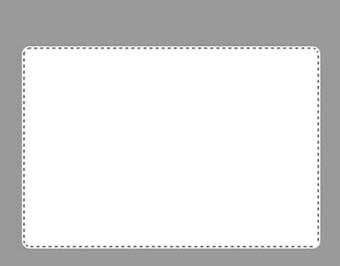
2. Using the rounded rectangle tool, draw the shape filling most of your canvas. I had the radius set to 10 and foreground colour set to white.
3. Ctrl + Click on the new Shape1 Layer to select it.
4. Create a new layer on top of this one.
5. Go to Select > Modify > Contract (2 pixels).
6. Now using the gradient tool, and 2 nice shades of grey, colour it from top to bottom. I used #CCCCCC and #E2E5E5- a dark and a light shade.
7. Create a new layer behind your Shape1 Layer.
8. Set white (#FFFFFF) as your foreground colour.
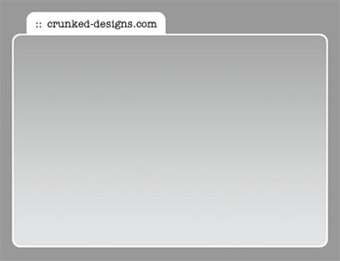
9. Ok now we need to add the tab to the top of your content box. Using the Rounded Rectangle Tool again, draw the shape behind the current box so that you cannot see the bottom corners. Check my example if that makes no sense.
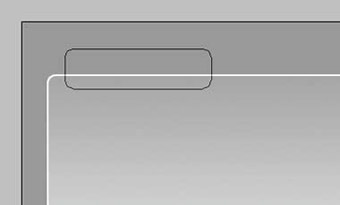
10. Looking nice so far? All that is left is to add a suitable title to it, and you're done! Here is one we prepared earlier...