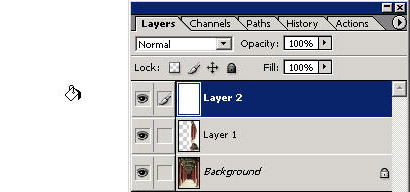
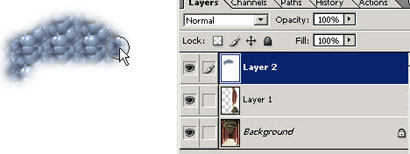
Create a new layer on your open document by clicking on the new layer icon at the bottom of the layers palette as shown.
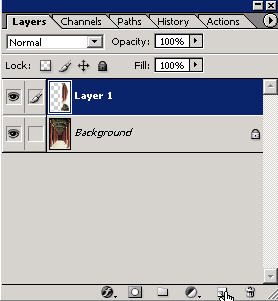
Now you have a new blank layer you can work on.
Grab your paint bucket tool (this is one of the methods) and click to fill that entire layer with your foreground color (make it white). Remember that only this layer will be filled with white but because it is above the background layer in the layer order it will cover it up across the entire document.
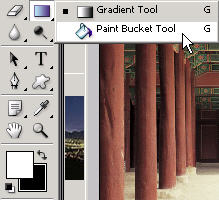
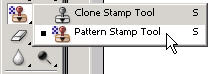
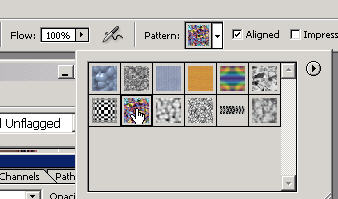
Now grab the pattern stamp tool which is above the eraser tool in the toolbar.
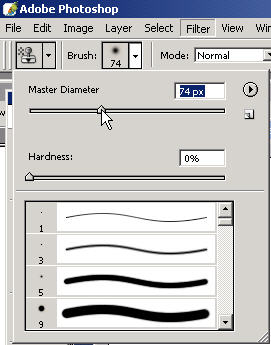
Choose a large brush size for your pattern stamp tool from the drop down brush menu.
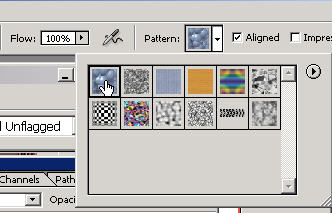
In the options bar you'll notice that you have the option of choosing a pattern. Choose one of these patterns.
Now go ahead and 'stamp' your pattern, basically just paint it onto the white layer (or create another new and blank layer to stamp with).
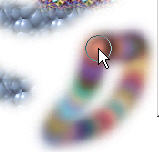
You'll notice how it paints "in" your pattern. Try painting/stamping in different areas of the document.
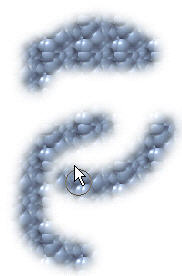
With the aligned mode on it just means that anywhere you release click and continue painting, the same pattern will be consistent and aligned wherever you paint. Try another pattern from the chooser.
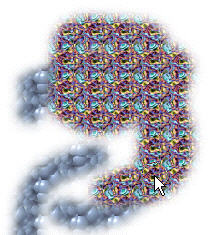
Not the prettiest sight in the world. In my Basic Photoshop training I teach you how to make your OWN patterns from anything (and yes they will be stored in the pattern picker box).
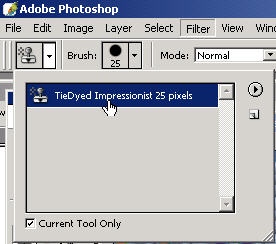
If you're feeling a bit juicy, try the impressionist setting.
![]()
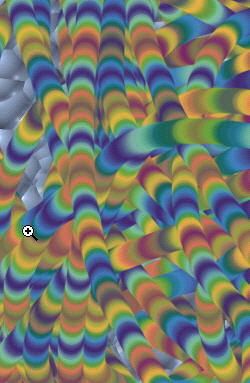
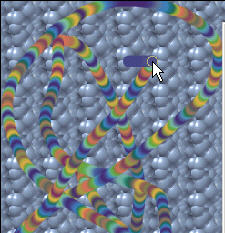
Phreakadelic.
You can also 'fill' a pattern onto a selection or layer by going to Edit: Fill and...
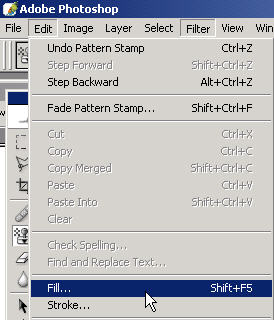
Choosing 'Pattern'
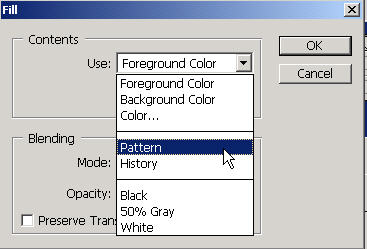
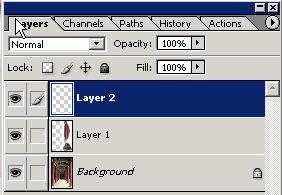
You can also choose pattern fill from the pop-up menu in the middle bottom of the layers palette. Because I didn't make a selection, the entire active layer (highlighted in the layers palette) is the layer that got filled completely. All other layers remain intact.
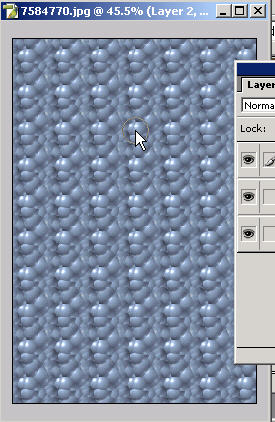
Once you create your own patterns from scratch (learn with my video training) you can save them in the tool preset manager. Here is a default pattern that is stored by Adobe.
It's a furry Grateful Dead caterpillar, dude.
PHreaky again.