You can download the accompanying .psd file here (1.2 Mb).
For this digital scrapbook tutorial I'm working on a layered .psd which has several other scrapbook elements.
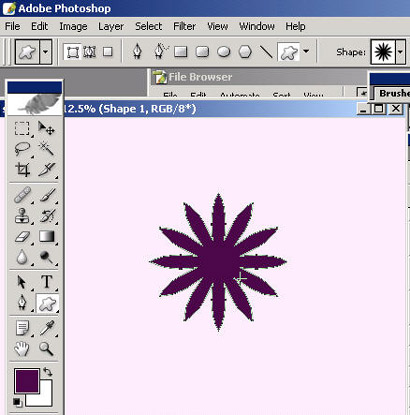
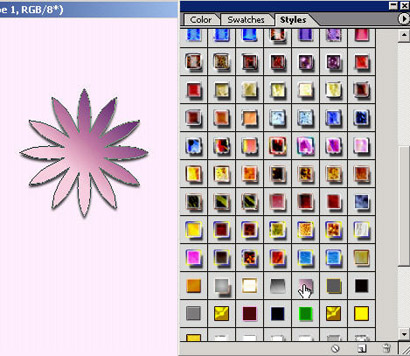
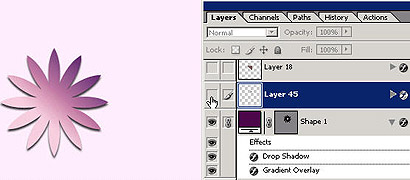
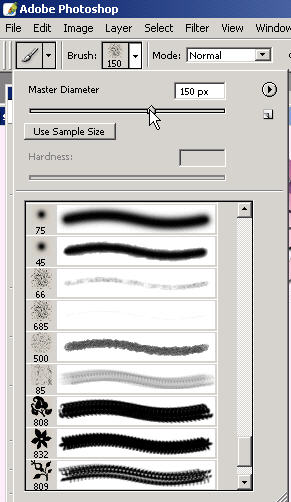
Start out with a new blank layer if you're using fill pixels or otherwise choose custom shapes tool and select the Shapes Layer option as shown.
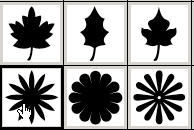
Now choose a flower shape and hold Shift while dragging to get a properly scaled flower. Note that the flower will fill with whatever your foreground color is. Because I use layer styles a lot for these, it often will not matter what your foreground color is (as long as you have the layer styles).
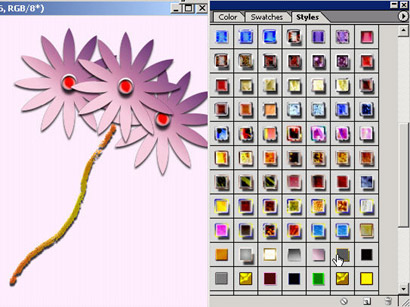
Now choose a nice layer style from your styles palette that isn't overly glossy or shiny but will make a nice 'flower'.
Now that you have your basic flower, create a blank new layer
and grab your elliptical marquee tool.
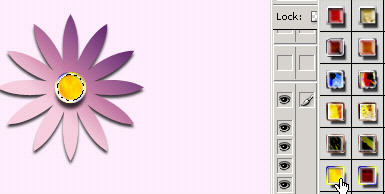
Now create a perfect small circle above the center of the flower holding the shift key for the perfect circle.
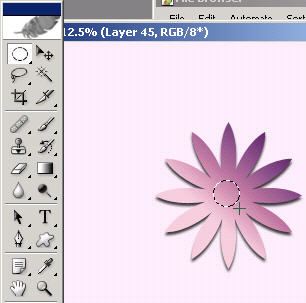
Press alt/opt backspace/delete to fill it with whatever your foreground color is. You have to fill it because there is no data on this layer other than a selection. Now choose a layer style for this layer to make a nice little button or pin/centerpiece in the middle...all up to your taste.
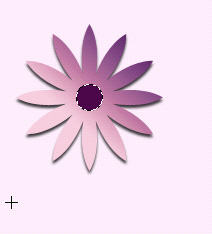
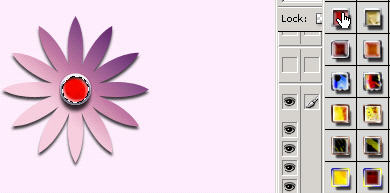
I'm going to use this one for now.
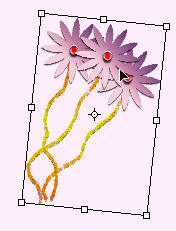
Since it's a little larger than I'd like it to be, I'm going to Ctrl T and holdAlt Shift to scale it down 'from' the center so I don't have to move it again.
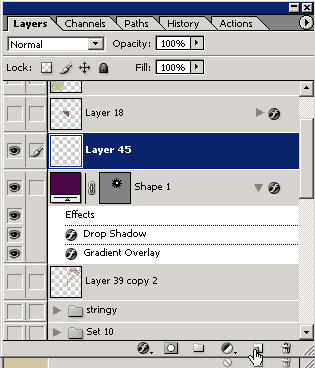
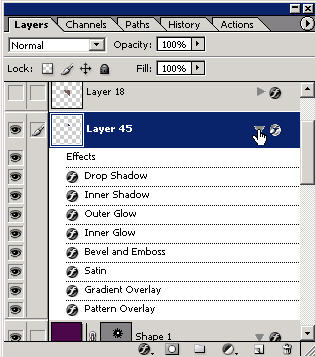
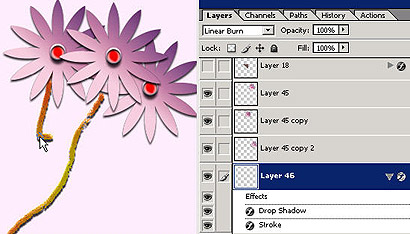
Get it to the size you want. Here you can view all of the layer styles that are being used for this particular layer..go ahead and close that menu if you want.
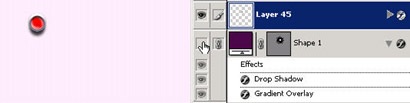
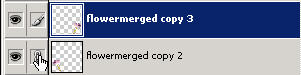
Press the eyeball of the flower to hide that layer and see that you have the independent dot on it's own layer.
Here is the same instruction flipped.
Now just link the two layers together and press Ctrl E to merge them into one layer. It will also take whatever layer styles were there and scrunch them just to end up with your layer fx applied. This I believe also saves disc space.

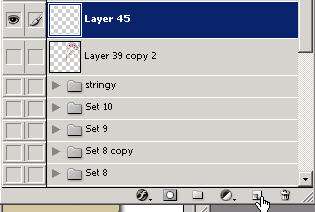
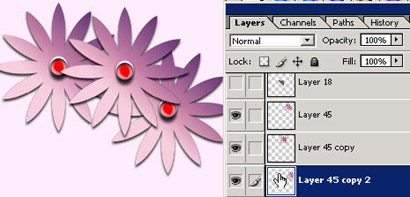
Go ahead and create some duplicates by dragging the layer to the new layer icon.
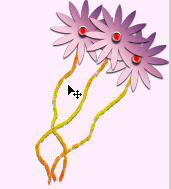
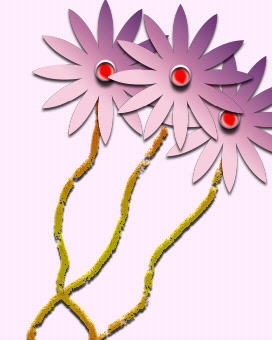
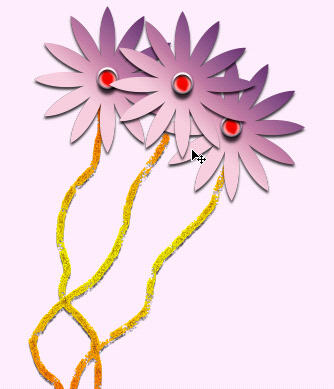
You can then change the layer order here to have whichever one you want on top by dragging their location in the palette...to create a bouquet.
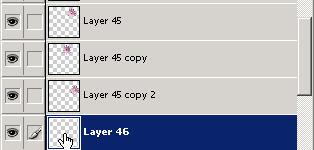
Create a new blank layer and grab a gristly brush and get it to the right size so where you can create a stemline. Note that this layer is beneath the flowers in the layer order/palette. Ctrl and then click on the new layer icon to place a new layer below the active layer.

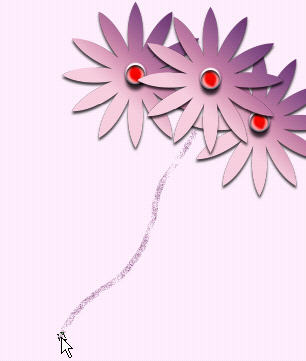
After creating a stemline on it's own separate layer you can try and find a style that will make it satisfactory.
One cool thing about using layers with styles already on them is you can go ahead and paint 'in' the already chosen layer styles or effects. Try this out.
You can even create a new blank layer, click on a layer style and then start painting. It's really cool and fun when making embellishments such as jewelry.
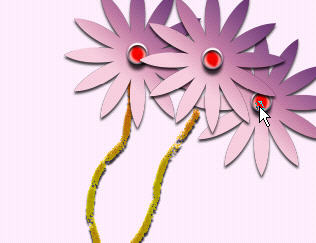
So draw in some different stemlines but all on the same layer.
Now you can go ahead and link these 4 layers together.
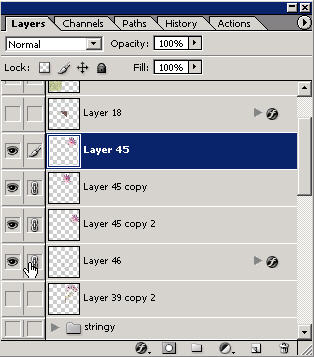
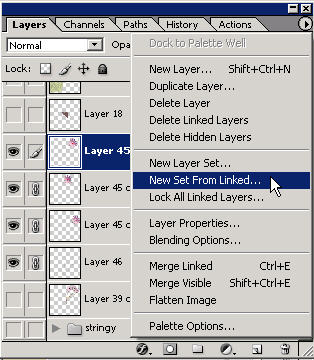
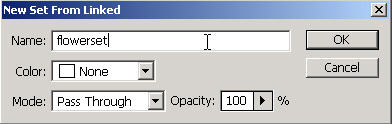
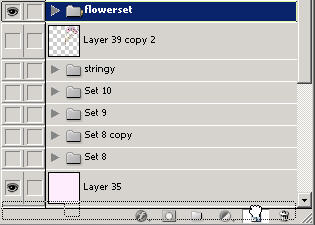
Here's another tip: since they are linked go to the flyout menu and choose New set from linked. Name the set if you want and press OK.
This is a really fast way to organize layers; especially when you have lots of layers b/c you can link the first one and scroll down the others if they're in a row.
Since I like to keep a copy of the originals, I'm dragging the entire layer set to the new layer icon to create a duplicate layer set.
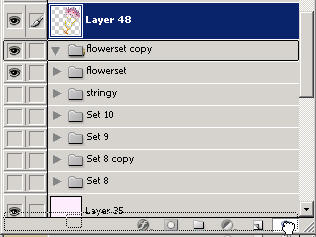
Now you can link these together and press Ctrl E to merge them into one layer.
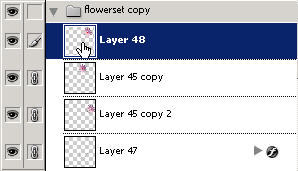

Now you have a copy of the originals and also a merged layer of the bouquet.
![]()
Create another duplicate if you want and Scale it down Ctrl T.'
Another hot tip: pressing (when you're right above a layer and on the moVe tool) Shift Ctrl Alt and then dragging will not only duplicate a layer right there but allow you to drag it straight across (the Shift part of it).
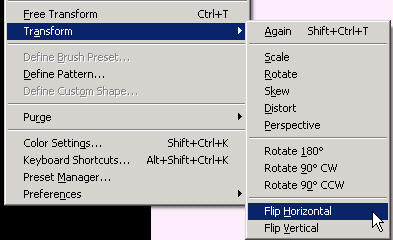
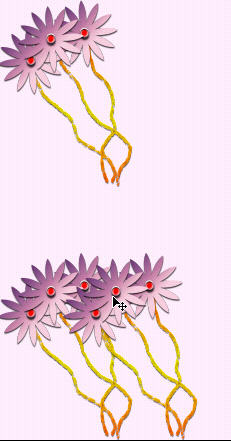
To put flowers on each corner, use this method dragging them to where they belong. When they are there, you can go ahead and Alt E A H or Edit: Transform Flip Horizontal or vertical to get them to all point inwards.

Once you have all four corners done you can link the two bottom of the image layers together and flip them vertically together after linking them. Linking allows you to edit: transform layers together.
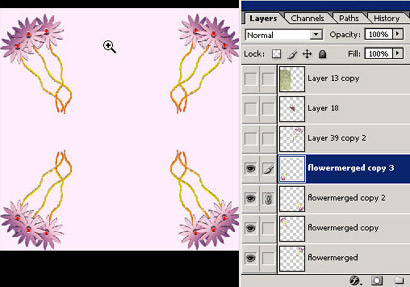
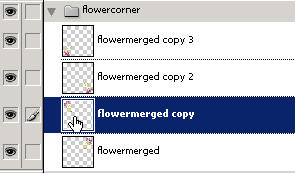
Here I've put them into a layer set.
![]()
Remember that if you want to work on a single layer it has to be highlighted or active in the layers palette..then you can move it around, etc. You can also right click when on the moVe tool with the cursor right above the layer and choose it that way.
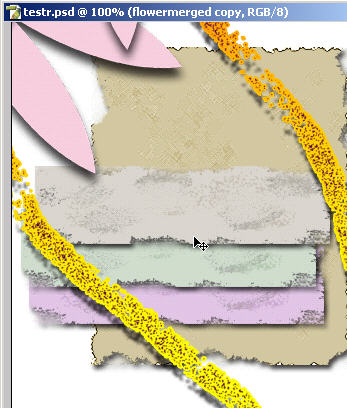
With the moVe tool, I'm dragging one of the layers (unlinked) into a 72 dpi image. Because I started with a 300 dpi image I'm going to have to scale it down.
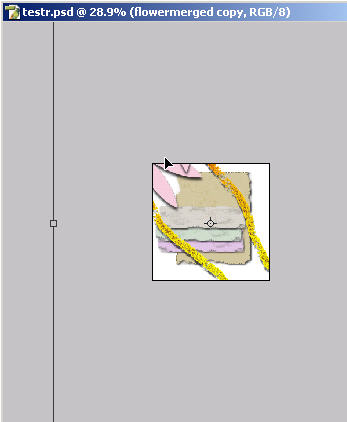
If you can't see the edge of the Ctrl T handles then press Ctrl 0 (Ctrl 'zero') to reveal enough to allow you to drag it down to size.
Now you've created a bouquet of flowers and can use these techniques and tips in continuing to make your scrapbook elements.