


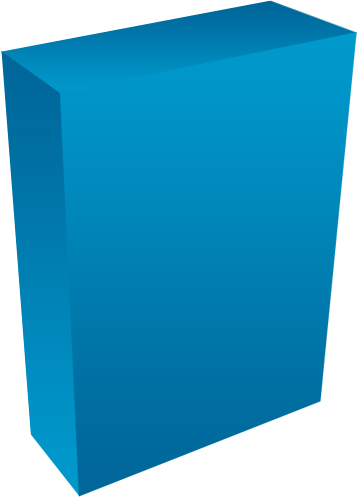
This tutorial demonstrates how to create a simple 3D Software Box

To turn this into a software box , you must:
1. Start with a 380 pixel x 468 pixel design. A fter I made my design, I merged the layers.
2. Use the marquee tool, holding shift to make an equal 54pixel x 54 pixel cutout on the top left corner.
The image will look like this.
3. You can copy this simple box shape and create a new layer, or you may learn how to make such box in this tutorial.
Click here for a layer psd 3d box shape (40 Kb).
4. Copy with marquee tool and paste the front cover on the box shape.
In the top menu, go to edit / Transform / Distort.
6. Now you can copy the left side of your art, paste on the shape, and distort.
7. Do the same for the top layer of the box.
8. Make a duplicate layer of the top, cut in half, and add a small drop shadow.
Finally, you will end up with a new 3d box like this.
