

First thing we need to do is, to open up a new image. I used 300 x 300 pixels.
This tutorial gives off a really relaxed feel. The Goopy tutorial is
aimed at beginners, but sometimes the simplest are the best.
Phase One:
Set your foreground colour to: 000000
And your background to: 169BCC
S1: Fill your 300 x 300 pixel image in black (000000) using the painbucket tool:
S2: Press the little arrow that points next to the colours, to "flip"
them around. Your blue should now be the foreground colour. With the
brush tool, size: 19, make a zig zag across your image. It doesn't have
no be neat.
S3: Now, select the brush tool again, but this time, size: 9. Change
your forground color to white (FFFFFF), and outline the blue zig zag.
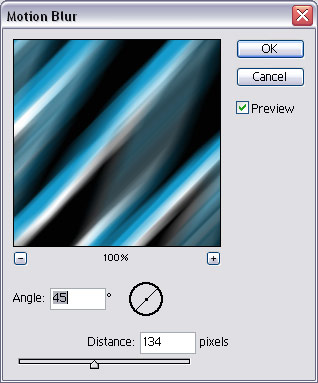
S4: Go Filter>Blur>Motion Blur, and use these settings, then press OK.
Phase Two:
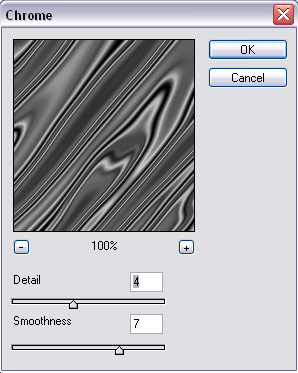
S1: Now, the fun part. Go, Fliter>Sketch>Chrome, with these settings, and press OK.
Press "Ctrl+U" and fill out use these settings, press OK.

You should now have something like mine: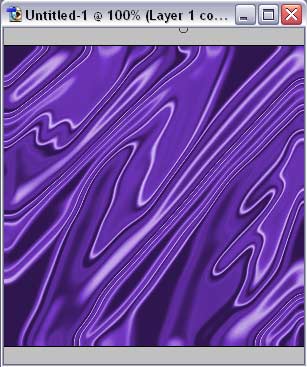
If not, don't worry, just keep on trying.