


Start a new document and fill the background with a color of your choice. This works best on dark colored backgrounds. Im using a gradient of dark red to black.
Now use the type tool to create your text.

Now apply the following layer styles (Layer->Layer Styles-->)
THen flatten this image: Layer->Flatten Image
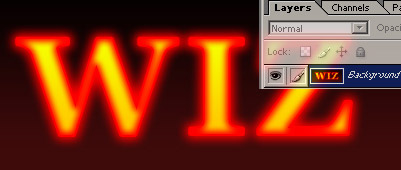
Now you should have this:
Now go to Filter->Artistic->Plastic Wrap. Apply:
Highlight Strength: 10
Detail: 15
Smoothness: 6

Now use the type tool and create the same text and same size and place it over your words.
CTRL+Click on the new text layer to load the selection, then HIDE this new text layer and choose the bottom layer as the working layer.
Now go to Filter->Blur->Guassian Blur: 2.5px.

Now go to Select->Feather: 2px
Now go to Filter->Sharpen->Sharpen: do this 5 or 6 times
Then go to Filter->Stylize->Wind: Method: Wind. Direction: From the right

Now go to select->inverse
Then go to Filter->Distort->Ocean Ripple: Ripple Size: 5. Ripple Magintude: 10
Now just CTRL+D to deselect
Now here is my final: (Download .psd file)
