With some of my work, questions often arise as to how I blend the images so seemlessly. A good question indeed. For the purpose of this tutorial, I will use the same technique I used to create an image in my digital creations gallery entitled "Finding Me - Looking Yet". That image seemed to receive quite a bit of interesting feedback.
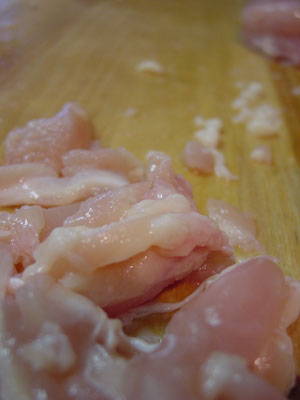
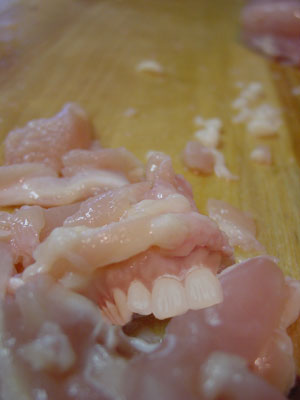
This is the base image we will be using. It is an image I took of chicken fat. For the purpose of this tutorial, I have sized the image down to 300x400.
As with many of my tutorials, I stray from the path and try to find something that catches the eye. After all, I give you instructions on how to deform a baby in another tutorial. For this one, I think it would be interesting to add some teeth to the chicken.
Open the teeth image, and make a selection around the teeth themselves. Copy the selection and paste it as a new layer into our base image. Name this new layer "Teeth". Use Free-Transform (Ctrl + T) to adjust the placement of the teeth. Also use the eraser tool to trim away a few of the teeth, just for that extra bizarre appeal. Do not worry about the color match, we will take care of that in a little bit. First we need to make sure the placement is just right.
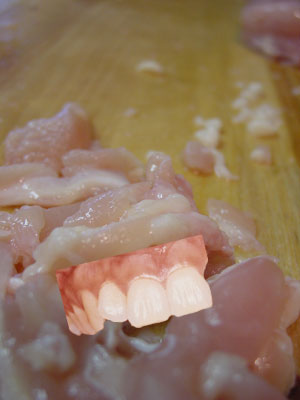
Continue to size, move, and trim the teeth to where they would appear to be the best fit. Notice that they are starting to "fit" a bit better as you proceed. Feel free to zoom in to help you be more precise with your adjustments.

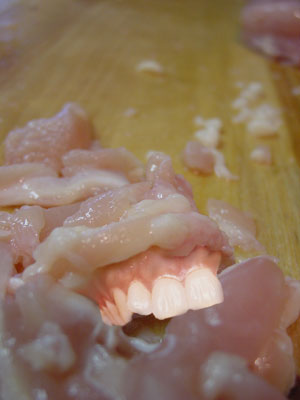
Once you have the teeth placed how you want them, zoom in to 200% and select the Smudge tool. Use the Smudge tool to stretch the gums up into the chicken layer.

Next, select the eraser tool and a medium sized soft-round brush (17 should suffice). In the options bar, drop the opacity of the brush down to 30% or so (I used 27%). Still zoomed in at 200%, trim away slightly at the top of the gums where you used the smudge tool. The resulting difference may be ever-so-slight from that of the previous step, but it helps with the overall appearance and final blending results:
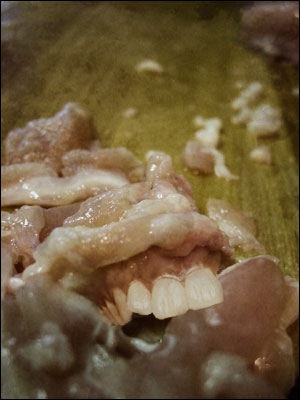
Now, select the teeth layer as to blend the colors with the base layer. Select Image > Adjustments > Brightness/Contrast. Adjust the sliders so that the teeth blend with the chicken. The settings I used were: Brightness = -41, Contrast = -24. Your result should look something similar to the below:
That is really all it takes. I personally feel that the major portion of this is placement. Once you have a good placement, the blending somewhat takes care of itself. You can use the above techniques to further drive the image as you see fit. If I was to work with the image further, I would work on the front 2 teeth and add some additional lighting as they seem out of place. However, this tutorial is to give you the basic blending idea.