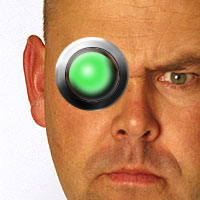
Open the photo you want to turn into a robot. For this tutorial, it is best if you use a photo with a face of a person like the one I'm using. If you want to use the image I used for the tutorial, download it here.
Create a new layer.
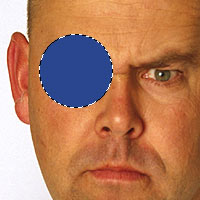
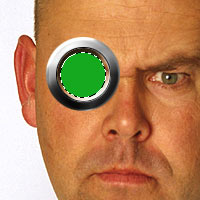
Choose the eliptical marquee tool ![]() ,
then holding down the SHIFT button, click and drag to
make a selection around the eye, then fill the layer
with a dark color.
,
then holding down the SHIFT button, click and drag to
make a selection around the eye, then fill the layer
with a dark color.
Use your own judgement for the size, dont make it too big. mine is 74px by 74px (you can see the size of current selection on the "info" pallete.
Now go to Select->Modify->Contract and enter about 10.
Then hit delete.
Hit CTRL+D to deselect.
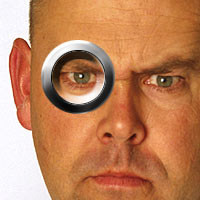
Now go to Layer->Layer Style->Bevel & Emboss and apply the following settings:
Then Layer->Layer Style->Pattern Overlay and the following settings:
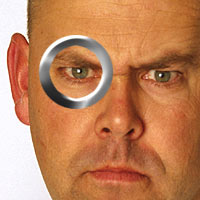
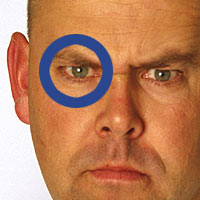
Now choose the eliptical marquee
tool ![]() again, and while holding the SHIFT key, click and drag
to make a small selection the same size as the smaller
inner circle.
again, and while holding the SHIFT key, click and drag
to make a small selection the same size as the smaller
inner circle.
Now create a new layer.
Then go to Edit->Stroke:
Width: 1px
Color: Black
Location: Center
Leave the others as default, then click ok.
CTRL+D to deselect.
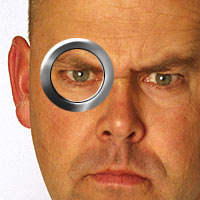
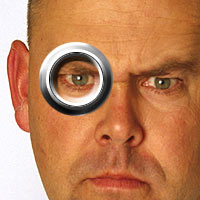
Go to Layer->Layer Style->Bevel & Emboss.
Then Layer->Layer Style->Stroke
Create a new layer.
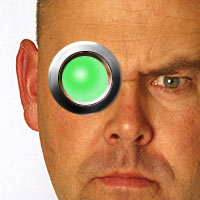
Once again, use the eliptical marquee tool + Hold down shift and create another circle even smaller than before, fill with any color. See image on the left.
Now go to Layer->Layer Style->Gradient Fill
The gradient color is as follow:
D8FFDD -> 54EB5F -> 90F1A0
![]()
Now go to Layer->Layer Style-> Bevel Emboss
Download the following circuit image.
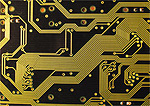
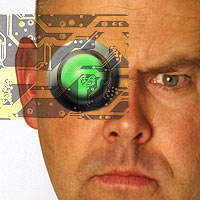
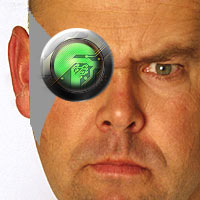
Open the above image, then copy and paste it onto the face, set it's blending mode to "PIN LIGHT". and opacity to 50%
Now you can move the circuit layer around until you see a pattern inside the eye that you like.
Now choose the eraser tool, and
soft brush size 35 ![]()
Now use the eraser tool and carefully just erase circuit leaving only what's inside the eye (green area).
You can leaving a little on the frame (grey area) of the eye if you like, it gives a nice effect.
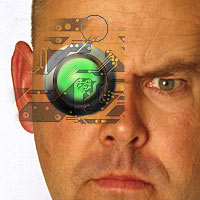
Now use the lasso tool and draw a selection around the edge of the face and shape like the image to the left.

Create a new layer UNDERNEATH the eye's layer (just above the original photo)
Then fill the selection. CTRL+D to deselect
Go to Layer->Layer Style->Gradient Fill. Fill with light grey and dark grey to give a metalic effect


Go to Layer->layer Style->Bevel Emboss.

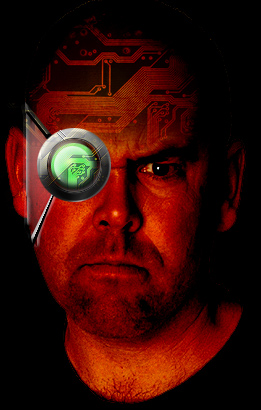
Well, that's it for this tutorial, as you can see, all we need to do is add a few metallic objects to the face. This tutorial can go on forever, and im not going to bore you with instructions, you take over from here and use your own creativity to enhance your face. To the left is what I made after playing around.