Create a new document with gray background (HEX: #616A6F). Then select the circle shape tool, while holding shift, creat a circle with the shape tool.
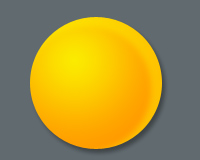
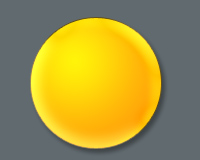
Next, apply the following gradient settings to the shape.
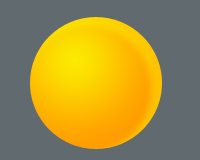
The colors are (left to right) #FF9C00
-> FBEB00
![]()

Next, Apply the following inner shadow settings.

Next, apply the following drop shadow settings.
Next, apply the following bevel and emboss settings
Next, apply the following stroke settings
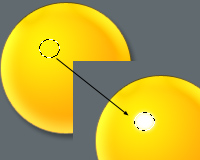
Now, create a new layer. Then use the elliptical marquee tool and make a small selection in the light part of the orb. (see image).
Then go to SELECT>Feather> enter 2
Then fill the selection with white. Set the opacity of this layer to 70%. If you want, you can move this white spot around a little to a position that you like.
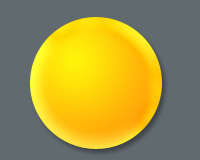
Now use the circle shape tool again, and create a new shape UNDER the orb, this new shape needs to be slightly larger than the orb itself. Remember to hold shift while creating the circle to create a perfect circle.
Next, apply the following gradient settings to the new shape.
and the following dropshadow.

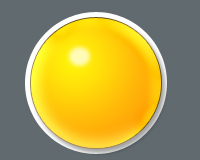
Continue to play around with a few shades and other effects. Here is my final.