Start a new document 700x400px with blue HEX: #043A79 background.

Switch over to the Channel's Pallete and create a new channel. (if the channel pallete is not visible, go to "Windows->Channels".
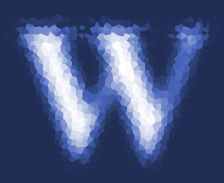
While still in the channels pallete and with the new channel (Alpha 1) selected, select the Type Tool and type your text. Make it as big as possible.

Now duplicate this new text channel, to do this, drag the channel into the "create new channel" icon. This will not be Alpha 1 copy.
Go to Filter->Pixelate->Fragment. Repeat this step for 3 times.
Then go to Filter->pixelate->crystalize. Enter 6. (This depends on the size of your text. play around)
Pixelate->Fragment
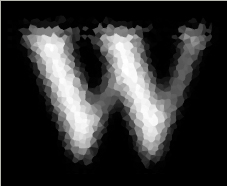
Pixelate->Crystalize
Go to Select->Select All, then Edit->Copy
Then go back to the layers pallete. Then Edit->Paste
Then go to Image->Adjustments->Hue/Saturation. Match the following settings:
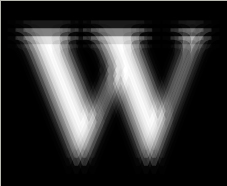
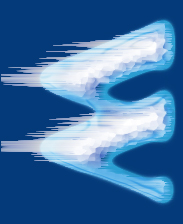
Go to Image->Rotate Canvas->90CW
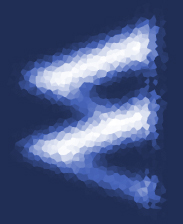
Go to Filter->Stylize->Wind
Method: Wind
Direction: From the right
Go to image->Rotate Canvas->90CCW

Go back to the Channels Pallete. and click on the original text channel (Alpha 1) to select it.
Then go to Filter->Blur->Guassian Blur.
Enter: 8.0

Go to Image->Adjustments->Levels
Input Levels: [ 0 ] [ 0.15 ] [ 60 ]
CTRL+Click on Alpha 1 (the original text channel) to make a selection around the text.
Then go back to the Layer's Pallete

Create a new layer.
Press D and X on the keyboard to reset the colors back to default white and black.

Go to Filter->Render->Clouds

Go to Filter->Sketch->Chrome
Set:
Detail: 3
Smoothness: 3
You can play around with this to get different effects.

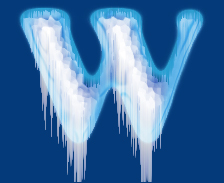
Apply Inner Glow layer style to this chrome layer. (Blue used: #39C5FF )


Change the blending mode of the chrome layer to overlay, and set the opacity to about 80%
Now you are done, but what if we want to place our text on another color background? we cant, because it is already on a colored background.
The following steps will show you how to overcome that.

Go back to the Channels Pallete, CTRL click on Alpha 1 to select the original text channel, then go back to the layers pallete.
Go to Select->Inverse, then hit delete to delete, then deselect.

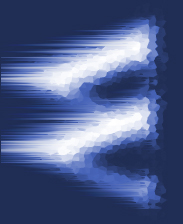
Go to Image->Rotate Canvas->90CW.
Go to Filter->Stylize->Wind.
Method: Wind
Direction: From the right
Go to image->rotate Canvas->90CCW.
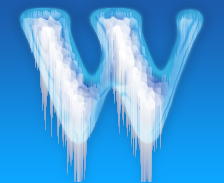
Now your ice text can be place on any colored background.