

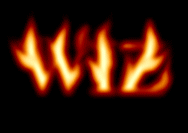
Start a new document and fill the background with black. Select the type tool and create a white text.


Now to create the flames, select the smudge tool and choose 17px soft brush. For strength, select about 80% - 90%. Check the "Use all layers" checkbox.
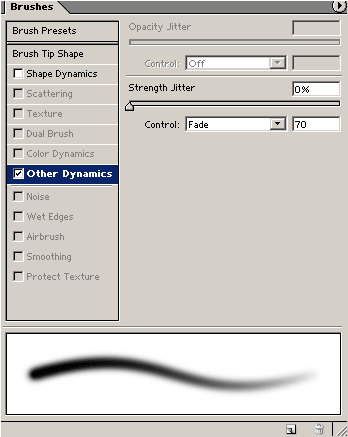
Click on the ![]() to open the Brush pannel, and apply
the following settings:
to open the Brush pannel, and apply
the following settings:
![]()
Now create a new layer, then smudge the top of the
letters and other areas to create a flame effect.

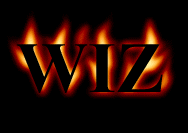
Click on the Adjustment Layer button at the bottom of the layers pallete and select Color Balance.

Midtones: Red= +70. Yellow = -70
Shadows: Red= +70. Yellow = -70
Highlights: Red=+70. Yellow = -20
You can experiment with these value to get better results.
Set the new text layer's blending mode to Overlay.
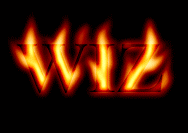
Your done! Play around with the blending mode and opacity for more cool effects.