I used Photoshop 6.0 to create Ray Effect. But I am sure you can do it with Photoshop 4.0 and higher versions.
Start with a new document , 500 pixel width and 10 pixel height and white background.
Apply Filter > Noise > Add Noise , Amount %30
Go to Image > Adjust > Threshold I set the value as 145.
Higher the value, more dense the effect.
You will have an image like this.

Increase the image height to 500 pixels.
Disable the Constraint Proportions.
Image > Image Size > height 500

View > Snap To > Document Bounds
Shortcut to Ruler : Ctrl + R
Select the left part of the center (left side of the vertical guide). Hit right click and select Layer via Copy.
Hit Edit > Transform > Flip Horizontal
Move the new copied layer on to the right side of the vertical guide.
Now Merge Down the image
Shortcut : Ctrl + E

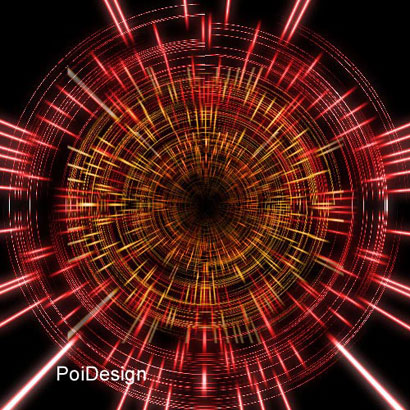
To continue with Whirlwind effect Click here