
1 | 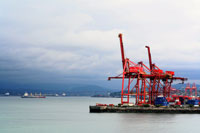 | Take two photographs, one with an infrared filter and one without. Ensure that the position of the two photographs are identical by placing the camera on a surface or tripod. Open (Ctrl+O) the image taken without the infrared filter in Photoshop. |
2 |  | Change the Image Mode to Lab Color (Image> Mode> Lab Color). In the Channels window (Window> Channels), select the Lightness channel (Ctrl+1). |
3 | 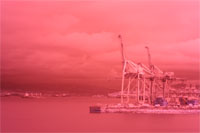 | Open (Ctrl+O) the photograph taken with an infrared filter in Photoshop. If your image lacks detail, you may use the Shadow/Highlight tool (Image> Adjustments> Shadow/Highlight) tool to increase the shadows or highlights. |
4 | 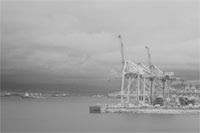 | Change the blending mode of the current document to Lab Color (Image> Mode> Lab Color). |
5 | 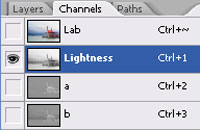 | Switch back to the previous opened document with the photograph taken without an infrared filter (Ctrl+Shift+Tab) and ensure that the Lightness channel is still selected (Ctrl+1). |
6 | 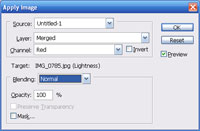 | With
the Lightness channel selected (Ctrl+1), use the Apply Image tool
(Image> Apply Image) to apply the following properties: Source: Photograph taken with an infrared filter Layer: Merged Channel: Red. If the redchannel lacks detail, try using a different channel such as Lab. Blending: Normal Opacity: 100% |
7 | 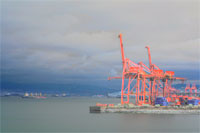 | Select the Lab channel (Ctrl+~). |
8 | 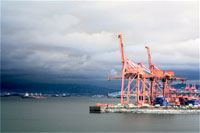 | To increase the contrast, apply an Auto Levels (Shift+Ctrl+L). |