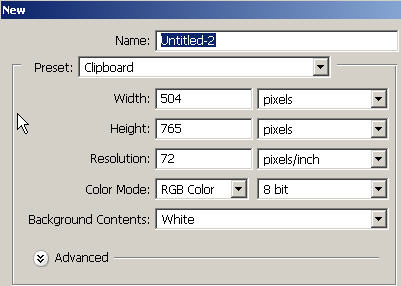
In this tutorial we are going to recreate a version of a very popular themed movie which you should all recognize. Start off with this image size in a new document (note that 72 resolution = output for web). If you wanted to output for print you would have to have 300 dpi and all of your bitmap source material at 300 dpi or higher.
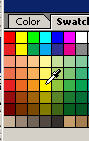
Choose a bright yellow color and fill the background layer with the paintbucket, Alt Backspace or Edit: Fill.
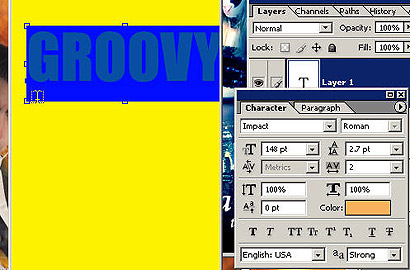
With the Text tool ('T'), create some large blocky letters spelling 'groovy'. Here I used the 'IMPACT' font (again but my collection is so minimal in variety). I believe there are some fonts out there that already look like what we're going to do.
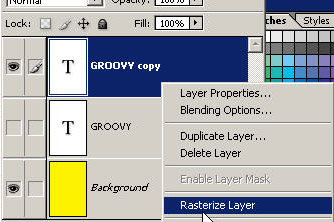
Now make a duplicate of the text layer by dragging it to the new layer icon at the bottom of the layers palette. Right click on the layer name and choose Rasterize Layer. Now you can apply an assortment of other options to the text layer (you are not able to 'edit' the text after a rasterization).
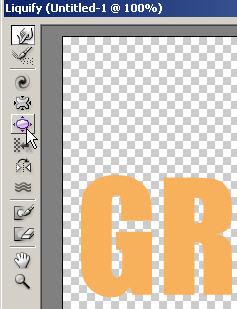
Bring up the Liquify dialog box under the Filter menu. Grab a large brush ( ']') and choose the Bloat tool. Now click on portions of the text that you want to 'bloat'. You'll have to be careful or you might bloat too much. Doing this we want the letters to be bottom heavy but also to round out the angles. You can do quick bloats on sharp corners of the other letters.
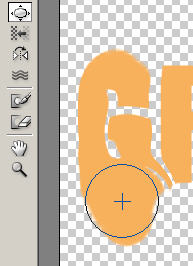
By carefully bloating you can slowly stretch the bloat and drag it down further.
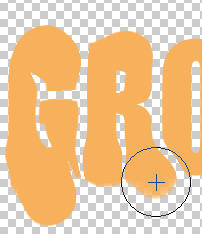
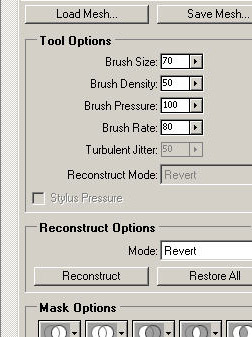
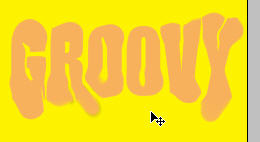
Keep bloating until you end up with something like this or need to use Rolaids. Remember that you can Revert backwards or start over, change your brush size, etc. If you want you can 'Save Mesh'. This will save the exact grid locations of your actions so you can reload them on other layers. Press OK and go back to your document.

![]()
Create some more text with IMPACT on a large font size, bring up Filter: Liquify and do the same thing. Bloat so you get a groovy yet comical looking result. Download free styles, brushes from my new website PSDownloads right here.