Ladies and gents...this right herre is the tutorial to end and begin all tutorials. If you look at the end result there would probably be no way on earth that you would believe that this is the first design I've ever done in this genre (done while recording this tutorial live). But even if you don't believe me (because it's true), you will learn a lot of really cool stuff in this Photoshop tutorial (& from the brand new iPSD Derrty Dozen) also available through here.
For the document size I'm starting off with a nice large size. The beauty with these kinds of designs (technoGUI/eurocollage...) is that you don't need to import any bitmap image into Photoshop and you can do them all from scratch. This also means that you can go ahead and create whatever resolution and image size you want (for great print quality 300 dpi @ your desired image size) for a great output.

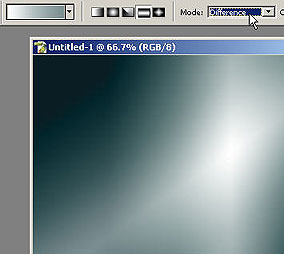
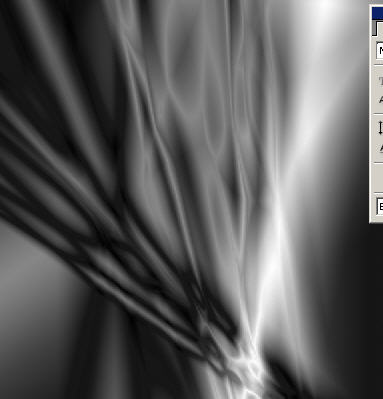
To start it off on the right foot, grab your 'G'radient tool and choose a gradient. Now put the gradient blending mode on difference. Changing the blending modes simply allows the gradient light to add up on top of or 'in addition' to each swipe that you create. Do several swipes on the reflected gradient. If you keep them close together at a similar angle you will end up with something close to what I have here.
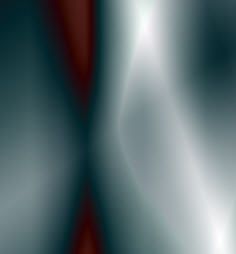
Before you know it you'll have an incredibly amazing result (hopefully even with the sleightest of hand). If you want you can switch gradient tools (ie. reflected to linear or diamond...).
Go to Image: Adjustments: Desaturate or Shift Ctrl U. This will strip away the color information which is what you want for now. You just wanted to create the cool EFX.
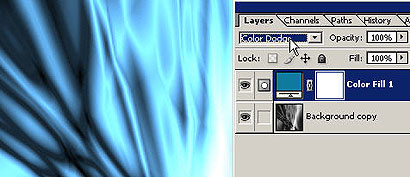
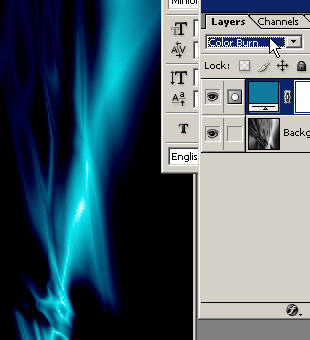
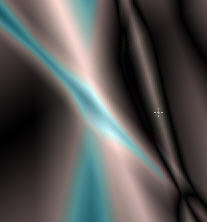
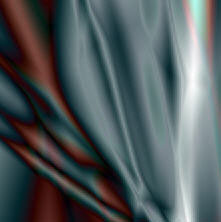
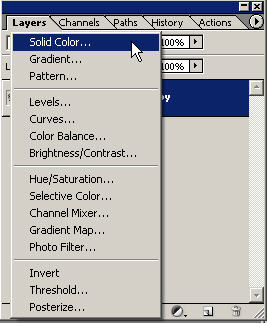
Now that you have created some gradient swipes on your background layer for your kickin' background, go to add a color adjustment fill layer from the fill/adjustment layer icon at the bottom middle of the layers palette. Choose a bluish color and then scroll through the B boys (blending modes).
Here is a few different results. You will be using the power of the blending modes a lot in this tutorial. As much as you might want to understand or do understand on a technical level, it's really their effective application in Photoshop Design that just makes it all worth it. It is important to know that what they are doing is simply mixing the color and light attributes of the selected layer with the layer beneath it. The results will greatly vary depending on what situation you're in but there are general standards discussed in the TutorialKey Photoshop training program and Photoshop Designer training.