Step 1 - Reset 3D Studio Max
Step 2 - Go to the Top View
Step 3 - Go to the Create Panel
![]() and make a box. It does not matter what dimensions, whatever your like. Go to the Modify Panel
and make a box. It does not matter what dimensions, whatever your like. Go to the Modify Panel
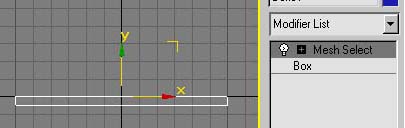
![]() and pick Mesh Select as modifier.
and pick Mesh Select as modifier.
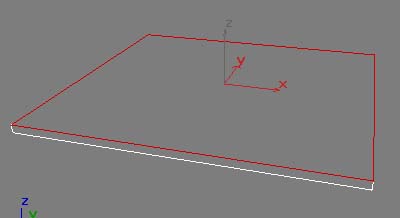
Step 4 - Select the top face. Your box should look like this:
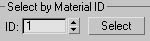
Step 5 - Set the Material ID of the selected face to 1.
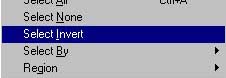
Step 6 - Make an inverse selection so that you select the rest of the faces.
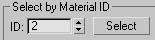
Step 7 - Set the Material ID of the selected faces to 2.
Step 8 - Deselect the Face Sub-Object Mode
Step 9 - Open the Material Editor (m).
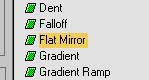
Step 10 - Go to the maps roll-out and click the reflection button. Choose Flat Mirror.
Step 11 - Click the radio button: Apply to faces with ID: and set that ID to 1 (standard, so you'll probably won't have to change anything).

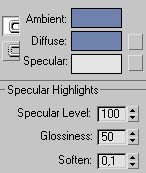
Step 12 - Go back to the main material and apply these settings: Ambient/Diffuse Color: RGB(111, 129, 173), Specular: RGB(255, 255, 255), Specular Level: 100, Glossiness: 50. Make sure to apply the material to the box!
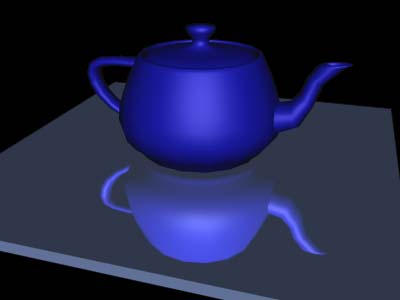
Step 13 - Close the Material Editor. And create a Teapot and place it on top of the box.
Step 14 - Go to the perspective view, move into position and press Shift + Q. What you should see is this: