

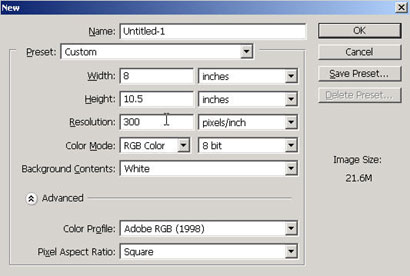
Create a new document with your required specifications.
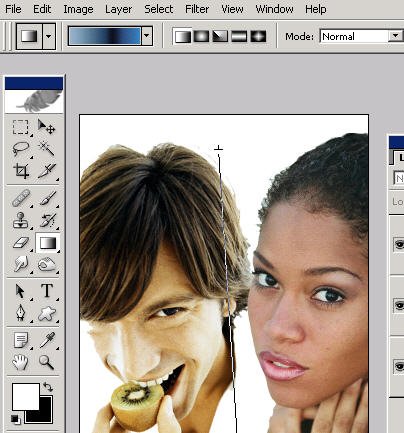
To start this tutorial off you?ll want to use some high resolution photos such as of a celebrity, etc. that will be your cover story focus. Teen magazines will often have stories of celebs or scandals, etc. with the main focus being this image. So start with this and then we can build up the rest of the magazine around it. Once you are done with this tutorial on your own, modify it as you need to and you have a template so you can just create the latest headlines and appropriate paparazzi pictures or studio shots hot off the press for the next issue.
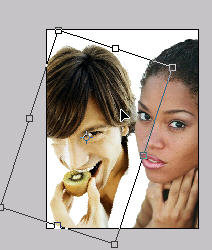
Drag one or two options into the appropriately sized document that your client/magazine requires with the moVe tool. Resize them down by scaling (holding shift on Ctrl T).
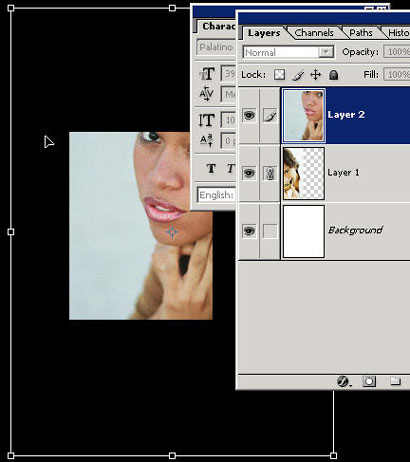
We want them to have that high gloss ?taking up most of the magazine cover? kind of feel. The shortcut for finding the transform handles when you have entered Free transform is Ctrl 0 that?s Ctrl/Cmd zero.
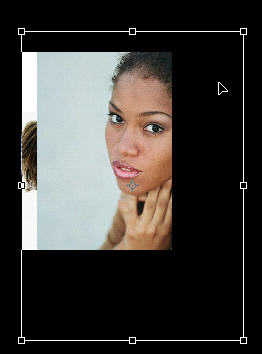
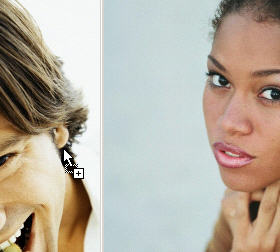
Here I?m going to try out using to images. Often magazines will have two celebrities that they pit against each other to create more drama. I?m just using some photos.com images from my collection.
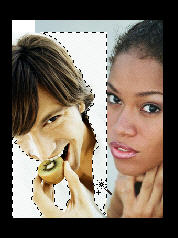
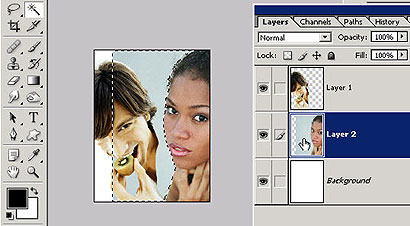
Now go ahead and erase the unwanted pixels using whichever method you want in order to end up with just the people/celebs themselves. You want to get a good selection so then we can put a different background beneath them. Get rid of their backgrounds with tools such as the magic wand (works great on simple backgrounds), eraser, quick mask, extraction, etc.
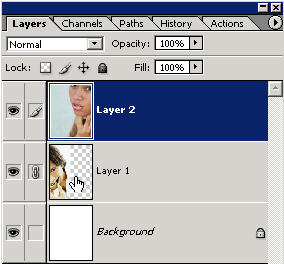
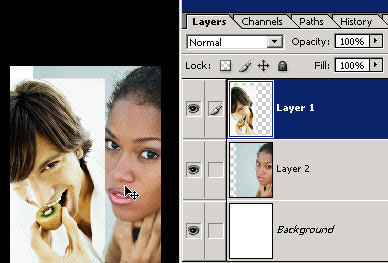
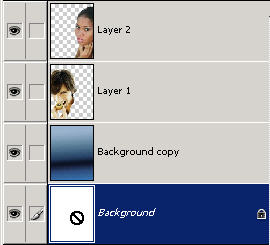
Make sure you just have each person and none of the other pixels on each of those layers. Of course make sure you are on the appropriate layer in the layers palette. This is basic stuff you should know by now. If not then you might (be a redneck) need my Basic Photoshop training.
Make any transform adjustments or scaling that you need to.
Now select the background layer
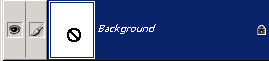 in the layers
palette by clicking on it and press new layer icon to create a new blank layer
above that layer.
in the layers
palette by clicking on it and press new layer icon to create a new blank layer
above that layer.
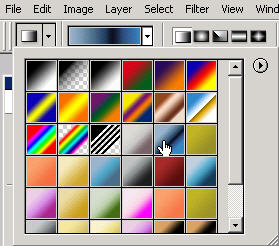
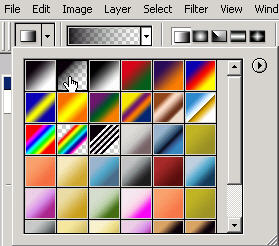
Now go to your gradient tool and bring up the gradient chooser drop down box and
choose a gradient. Many of these gradients I created in the
Madison Avenue DVD tutorials live.
Now just go ahead and swipe with the gradient tool to create a nice background. Note that it fills that invisible layer with a gradient all the way across because you have not made a selection. Also note the it is BENEATH the 2 celebrities in the layer palette order so it will show up beneath them.
Now just click on the create layer mask icon as shown.
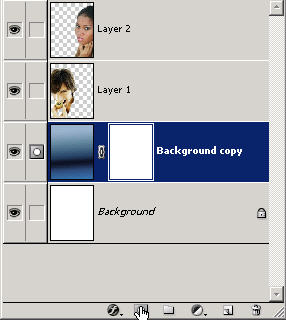
This will add a layer mask to this gradient layer so you can
?hide? pixels (instead of erasing them). Hiding pixels will let the white layer
(or whatever color you have) be shown through. The gradient tools adds nice soft
blends and fades.
Choose the second option from your gradient menu as shown.
This is foreground to transparent. Make sure that your foreground color is black. Now just go ahead and swipe upward in the middle of the document to hide the bottom visibility of the gradient layer. It will create a nice blend to white. (Do this only if you feel you need to hide some of the gradient effect.)