1. Here's a new feature only available to Photoshop CS users, ideal for red-eye correction, the 'Color Replacement Tool' is handy for other items as well..
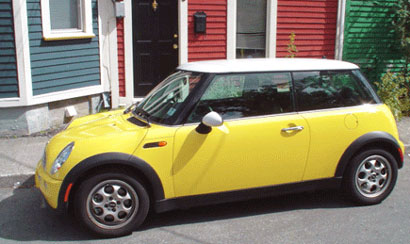
So start off by placing the original photo in a new document.
2. Next, go to the Toolbar and choose the 'Color Replacement Tool', nested with the 'Healing Brush/Patch Tools'. Alternatively, hit the 'J' key.
3. Next, hit the 'F6' key to bring up the Color Picker Palette, or go to 'Window/Color', or simply select the Foreground thumbnail on the Toolbar and choose a color from there.
4. Next, notice up on the 'Options Bar' the 'Color Replacement Tool' parameters. I simply kept them to the default except for the Brush Size.

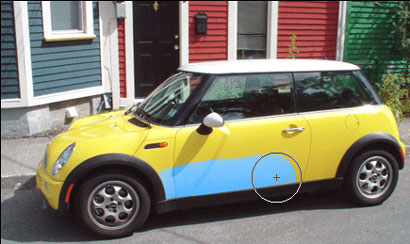
5. In our case, we'll concentrate on the yellow color based on the body of the mini car. So with the 'Color Replacement Tool' and the target layer active, click once on the yellow to set the target color you want to replace. Drag the brush over the yellow areas of the car until completely replaced. Make sure the cross hair inside the 'Replace Color Tool' cursor does not exceed the edge of the target color. (As I have captured below.)
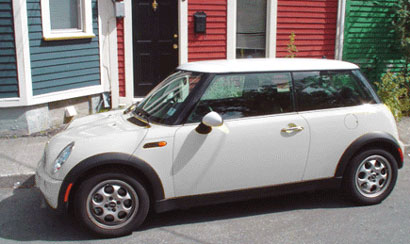
6. So here's the complete make over.
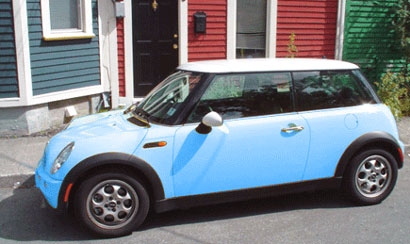
And here's a variation.
Explore as many variants as possible.