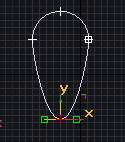
Greetings, this time we are going back to modelling using a spline cage method. So to start with open up Max and start a new scene.Iin the top viewport, create a shape-circle shape. Now right click and convert to edible spline and select vertex and move it like I did in fig 1.a.
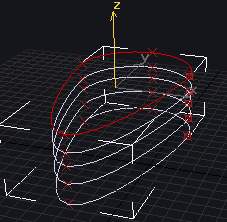
Now, select spline instead of vertex and select the distorted circle that we made. Now holding your shift key down drag the splines along the z axis, so that it creates clones of it. Make about 4 or so like in fig 1.b.
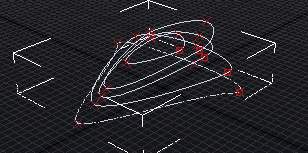
Now go back to your vertex mode and start distorting the hell out of your spline like in 1.c.
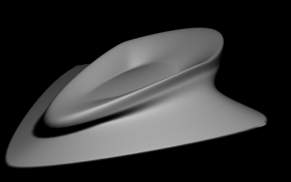
Once you get the splines to your liking, you can go to you modifier list and select crossection. Make sure on your crossection rollout that smooth is selected. Now all you do is go into your modifiers again and select surface. In the rollout, select flip normals if it looks weird. Also select remove interior patches, this will get rid of any mesh errors that may arise. The last thing you have to do is increase your patch steps to your liking but remember the more steps the higher poly your model will be. Now experiment with different splines and good luck.