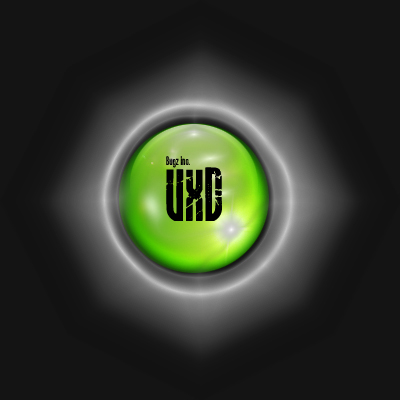
This tutorial will show you how to make great looking orbs to use for your splash or as your logo
Step: 1
Create a new layer call this orb
Step: 2
Now fill it with #68B500 and go to Inner Glow
Step: 3
Change the color to #365E00
Step: 4
Blending Mode to Multiply and size to 20px
Step: 5
Leave the rest as they are. Do not Deselect
Step: 6
Now you should have something like this
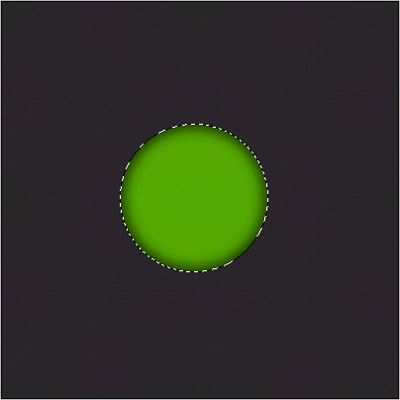
Step: 7
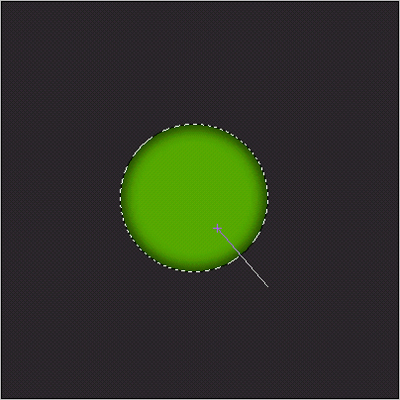
Change you foreground color to #AAFC3B and select the gradient tool
![]()
Step: 8
Now drag the gradient tool like as follows
Step: 9
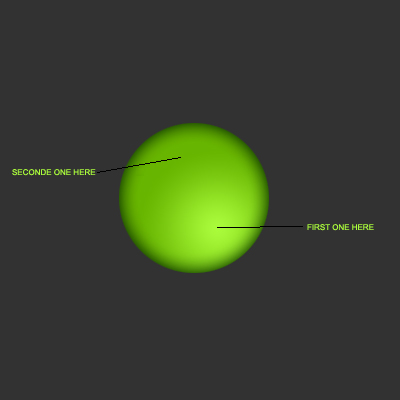
Now go to Filter > Render > lens Flare
Step: 10
Now select 105mm Prime and make you first lens flare 100 % in the part you did the gradient tool.
Step: 11
Now make one more lens flare but put this one on the opposite side of the orb. Like this
Step: 12
Now it should be something like this
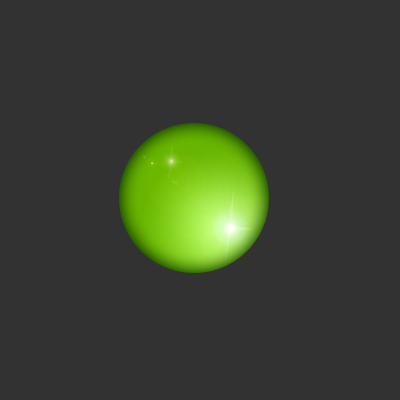
Step: 13
Now make another selection with the marquee tool as follows and select the gradient again tool but change you foreground color to white
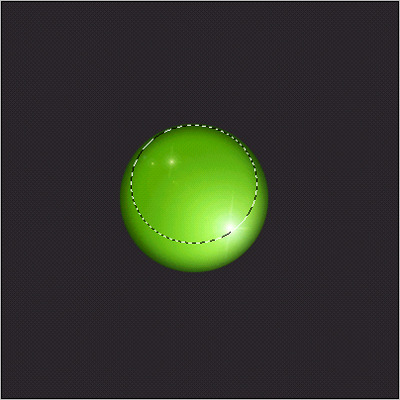
Step: 14
Create a new layer and use the gradient tool like this

Step: 15
Now press CTRL + Shift + E. to merge visible
Step: 16
Then press CTRL + A, to select all
Step: 17
Now press CTRL + C, to copy
Step: 18
Now press CTRL + Z, 2 times to, go back to just before you merged visible
Step: 19
Now press CTRL + V, to paste
Step: 20
Ok now select the layer you just paste and go to Filter > Artistic > Plastic Wrap and change the layers blending mode to Overlay
Step: 21
You can try deleting a few layers, but don't delete the layer you had to paste otherwise it wont look good
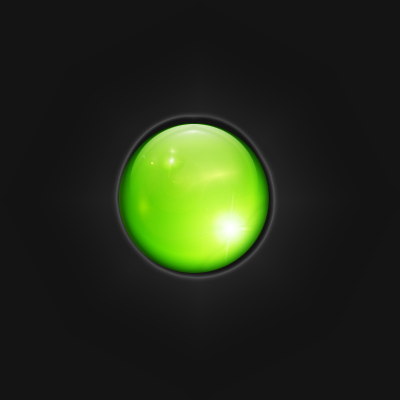

Step: 22
I deleted the orb layer here, the one you had to fill and do the lens flares on, and the background layer